If you’ve ever looked at your Chamberlain garage door opener remote or wall control and wondered, “What are the three buttons on Chamberlain garage door opener?”, you’re not alone. These buttons may seem simple at first glance, but they’re packed with functions that go beyond just opening and closing your garage door.
In this comprehensive guide, we’ll explain exactly what each of the three buttons does, how they interact with your garage door system, and how to use them to enhance security, convenience, and control. Whether you’re a new homeowner, upgrading your garage system, or troubleshooting an issue, this article will help you make the most of your Chamberlain opener.
Read too: How Many Remotes Can A Chamberlain Garage Door Opener Have? Understaanding the Limits and Options
Understanding Chamberlain Garage Door Openers
Before diving into the specifics of the buttons, let’s set the stage. Chamberlain is a leading manufacturer of residential and commercial garage door openers. Their systems are known for reliability, security features, and smart technology integration through their MyQ platform.
Most modern Chamberlain remotes and wall-mounted control panels include three buttons. But many users never explore beyond the primary open/close function. In truth, those three buttons can unlock a range of advanced capabilities.
What Are The Three Buttons On Chamberlain Garage Door Opener? A Complete Breakdown
To answer the question “What are the three buttons on Chamberlain garage door opener?”, let’s examine each button’s standard function.
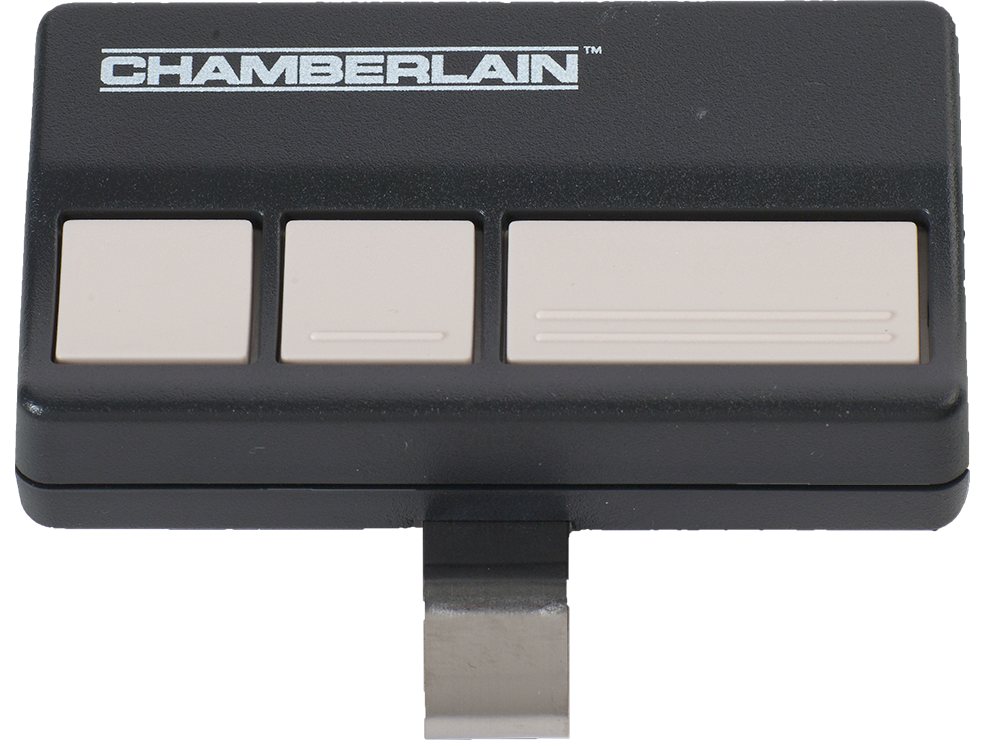
Button 1: Primary Garage Door Operation
The first button is usually the largest and most prominent. This button is:
- Default Function: Opens or closes your primary garage door.
- Common Usage: Standard daily access.
- Location: Centered or to the top left on most remotes or wall panels.
Depending on how your system is programmed, this button may also act as a universal control if you only have one garage door.
Button 2: Secondary Garage Door or Gate
The second button is designed for:
- Controlling a second garage door (if you have two).
- Operating a compatible gate opener.
- Using as a programmable auxiliary function with smart setups.
Many homes have dual garage bays with separate doors. This button allows you to control the second unit without needing a separate remote.
Bonus Tip: If you don’t have a second door or gate, you can repurpose this button via your MyQ app to control smart lights or other integrated devices.
Button 3: Light or Lock Function
The third button can vary by model but usually performs one of the following roles:
- Turns the garage opener light on/off.
- Engages the lock feature (disables remote opening for added security).
- Acts as an auxiliary control (for lights, additional MyQ devices, or smart sensors).
If your Chamberlain unit includes motion-detected lighting, this button overrides the auto-on function. For wall controls, it often includes a lock icon, which helps prevent accidental or unauthorized access—especially useful when you’re away from home or want to childproof the system.
Programming the Three Buttons
Each button on your Chamberlain remote or wall control can be customized to meet your specific needs. Here’s how to program them properly.
Step-by-Step Programming:
- Locate the “Learn” Button on the garage door motor unit (usually behind the light cover).
- Press and release the Learn button.
- Within 30 seconds, press and hold the button on the remote you wish to program.
- Release when the motor light flashes or you hear two clicks.
Repeat for each button, assigning them to different doors, devices, or functions.
Pro Tip: Always test each programmed button after setup to confirm that it controls the intended device or door.
Advanced Uses of the Three Buttons
Now that we’ve answered “What are the three buttons on Chamberlain garage door opener?”, let’s explore some advanced ways to utilize them.
Smart Home Integration
If your Chamberlain opener is MyQ-enabled, the three buttons can trigger smart scenes, like:
- Opening the garage and turning on porch lights at night.
- Locking doors and turning off lights when the garage closes.
- Sending notifications if the garage stays open for too long.
Using a platform like IFTTT, Apple HomeKit, or Google Assistant, each button can become part of a broader home automation system.
Enhanced Security with the Lock Feature
Using the lock button (often the third button), you can temporarily disable remote access. This is ideal for:
- Vacations or long absences.
- Preventing children from opening the door by accident.
- Adding a layer of security at night.
To engage the lock feature:
- Press and hold the lock button on the wall panel until the light blinks.
- All remote commands will now be ignored (wall button still works).
- Press and hold again to unlock.
Controlling Garage Lighting
In some models, the third button can also toggle the garage light, even if the door isn’t activated. This is handy for:
- Entering the garage from inside the house.
- Using your garage for other tasks at night.
- Saving electricity when the auto light doesn’t turn off.
What To Do If One or More Buttons Aren’t Working
There could be several reasons why one of your Chamberlain opener buttons isn’t functioning properly. Troubleshooting is easy if you follow these steps:
1. Check Battery Power
If you’re using a handheld remote, the battery may be weak. Replace the CR2032 coin-cell battery and test again.
2. Reprogram the Button
Sometimes the code pairing can fail. Repeat the programming steps to reassign functionality.
3. Examine Signal Interference
If the remote works from close range but not far away, nearby electronics or metal surfaces may be interfering. Move other devices away from the opener.
4. Factory Reset
If nothing works, you can reset the opener:
- Hold the Learn button on the opener for 6–10 seconds until the LED turns off.
- Reprogram all remotes.
Differences Between Wall Control and Remote Control Buttons
While both typically have three buttons, their functions may vary slightly.
| Feature | Wall Control Panel | Remote Transmitter |
|---|---|---|
| Door Open/Close | Yes | Yes |
| Light Control | Yes | Sometimes |
| Lock Feature | Yes | Rare |
| Multi-Door Access | Yes (multiple panels) | Yes (multiple buttons) |
Knowing the difference helps when configuring your system. For example, you may choose to disable remote access via the wall panel at night for better security.
Conclusion: The Power Behind Three Simple Buttons
So, what are the three buttons on Chamberlain garage door opener? They’re more than just open, close, and light. They are customizable tools that give you control over how your garage operates, integrates with your smart home, and protects your family and belongings.
By understanding and leveraging the full potential of these buttons, you turn your garage into a secure, automated, and efficient part of your home. Whether you’re using a remote or wall-mounted control panel, mastering these buttons means unlocking the full power of your Chamberlain system.
Leave a Reply