When it comes to the convenience of operating your garage door opener, programming a remote control is an essential task. Whether you’re using a Chamberlain remote or a LiftMaster garage door opener, ensuring that these devices communicate with one another is a simple yet crucial step in making your garage door system work smoothly. In this guide, we will walk you through the process of programming a Chamberlain remote with a LiftMaster garage door opener, providing easy-to-follow steps, troubleshooting tips, and other helpful information.
Why Is Programming A Chamberlain Remote With A Liftmaster Garage Door Opener Important?
Programming a remote control with your LiftMaster garage door opener is a key process to ensure your garage door functions as expected. Without proper programming, the remote won’t send signals to the opener, preventing the door from opening or closing. Additionally, programming a remote gives you the flexibility to add new remotes or delete old ones as necessary, offering greater control over your system.
Read too: How Many Remotes Can A Chamberlain Garage Door Opener Have? Understaanding the Limits and Options
The good news is that the process for programming a Chamberlain remote with a LiftMaster garage door opener is straightforward and can be done in just a few minutes with a few simple tools.
Step-by-Step Guide on Programming A Chamberlain Remote With A LiftMaster Garage Door Opener
Before starting, ensure that you have all the necessary tools. For programming a Chamberlain remote with a LiftMaster garage door opener, all you need is the remote and your garage door opener.
1. Locate the “Learn” Button on Your LiftMaster Garage Door Opener
To begin programming a Chamberlain remote with a LiftMaster garage door opener, first, locate the “Learn” button on your LiftMaster opener. This button is typically located on the motor unit of your garage door opener, near the antenna wire. Depending on your model, the Learn button may be on the back or side of the opener.
The Learn button is crucial because it activates the opener’s memory, allowing it to receive programming signals from your remote. The button usually has a small LED light that will blink or stay solid when pressed.
2. Press and Hold the “Learn” Button
Once you locate the Learn button on your LiftMaster garage door opener, press and hold the button for about 6 seconds. You’ll notice the LED light on the opener begins to glow solid, indicating that the opener is in programming mode. After the light turns on, the opener will be ready to accept a signal from your Chamberlain remote.
At this point, you have approximately 30 seconds to complete the next step, so it’s important to act quickly.
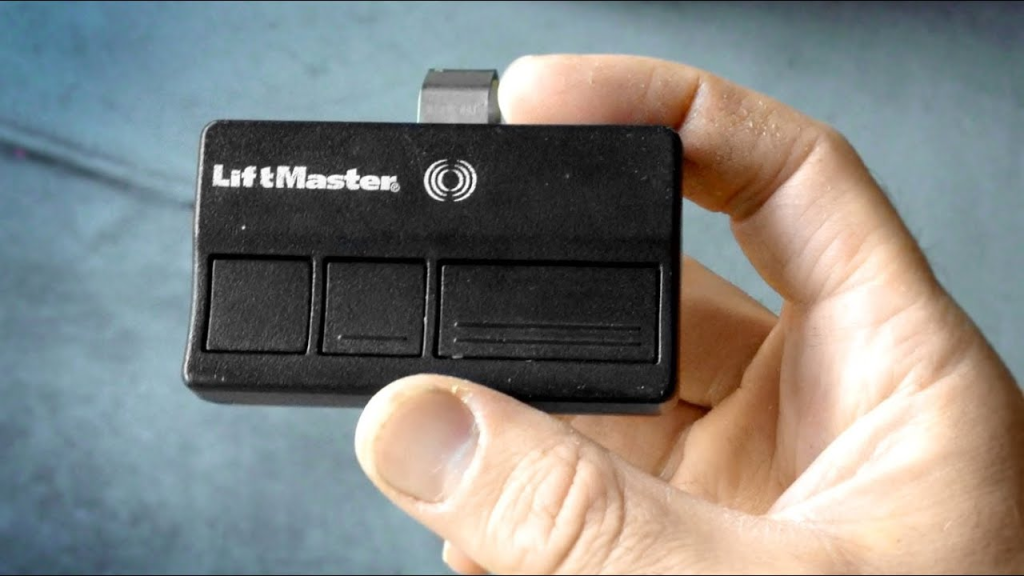
3. Press the Desired Button on the Chamberlain Remote
Next, take your Chamberlain remote and press the button that you want to use to control the garage door. When you press the button, the opener’s LED light will blink once and then turn off. This signals that the LiftMaster opener has successfully received the signal from the remote.
If the LED light stays on without blinking, it means the programming was unsuccessful. In this case, you’ll need to repeat the process from the beginning.
4. Test the Remote
Now that you’ve programmed the remote, it’s time to test it. Stand a safe distance from the garage door and press the button on your Chamberlain remote. If the remote is successfully programmed, the garage door will open or close as intended.
If the door doesn’t respond, check the LED indicator light on the opener again. If it’s still glowing solid, it means that the opener hasn’t successfully learned the signal from the remote. Try repeating the programming steps once more.
Additional Tips for Programming A Chamberlain Remote With A LiftMaster Garage Door Opener
While the steps above should work for most models, here are a few extra tips to ensure a successful programming process:
1. Ensure the Remote and Opener Are Compatible
Make sure that the Chamberlain remote you are using is compatible with your LiftMaster garage door opener. Although Chamberlain and LiftMaster are part of the same family of garage door openers, certain older models or specialized remotes may not work together. Check your user manuals for compatibility details or visit the manufacturer’s website.
2. Clear the Opener’s Memory (If Necessary)
If the opener has reached its maximum capacity for programmed remotes, you may need to clear the memory. To do this, press and hold the Learn button for about 6 seconds, until the LED light turns off. This will erase all previously programmed remotes, allowing you to reprogram them.
Clearing the memory is particularly useful if you’ve lost a remote or want to remove access for security reasons.
3. Replace the Remote’s Battery
If the remote doesn’t seem to be working despite following the programming steps, check the remote’s battery. A weak or dead battery could prevent the remote from sending a signal to the opener. Replacing the battery is often the easiest fix for remote control issues.
4. Use a New Remote for Additional Convenience
If you need more than one remote, you can follow the same process to program additional Chamberlain remotes. Just press a different button on each remote during the programming process.
Troubleshooting Common Issues When Programming A Chamberlain Remote With A LiftMaster Garage Door Opener
Here are some common problems you might encounter while programming your remote and how to fix them:
1. Remote Not Working After Programming
- Possible Cause: The remote might not be properly synced with the opener.
- Solution: Try repeating the programming steps and ensure you’re pressing the correct button on the remote. If needed, clear the opener’s memory and try again.
2. LED Light Doesn’t Blink or Turn Off
- Possible Cause: The opener didn’t receive the signal from the remote.
- Solution: Make sure the remote is within range of the opener and that you’re pressing the remote’s button during the 30-second window. Also, check the battery in the remote to ensure it’s functional.
3. Remote Works Intermittently
- Possible Cause: A weak battery in the remote or interference from nearby devices.
- Solution: Replace the battery in the remote and test again. Make sure there are no physical obstructions or interference sources near the opener.
Why Choose LiftMaster and Chamberlain Remotes?
When it comes to garage door openers, LiftMaster and Chamberlain are some of the most trusted brands in the industry. Both are known for their durability, security features, and user-friendly designs. Whether you are installing a new opener or replacing an old remote, LiftMaster and Chamberlain products offer top-notch performance, ease of use, and reliable communication between remotes and openers.
Conclusion
Programming a Chamberlain remote with a LiftMaster garage door opener is a quick and easy task that can save you time and effort when accessing your garage. Whether you need to add a new remote, replace an old one, or simply reprogram your existing remote, following the steps outlined in this article will help you set up your system efficiently. Remember, always check for compatibility, replace the remote’s battery if needed, and clear the opener’s memory if you run into issues.
By mastering the art of programming a Chamberlain remote with a LiftMaster garage door opener, you’ll ensure that your garage door operates smoothly and securely for years to come.
Leave a Reply