Wiring a garage door opener may sound like a task best left to professionals, but with the right guidance, you can do it yourself. If you’re installing or replacing a unit and wondering how to wire a Chamberlain Whisper Drive garage door opener, this article will walk you through every step of the process in detail. We’ll also cover safety tips, troubleshooting, and common wiring configurations. Whether you’re new to home improvement or just upgrading your opener, this guide is for you.
Why Choose a Chamberlain Whisper Drive Garage Door Opener?
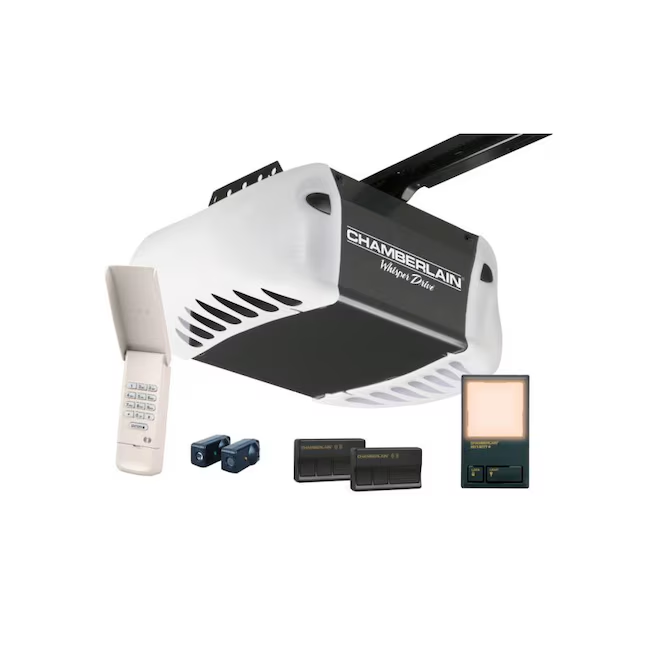
The Chamberlain Whisper Drive is one of the most popular garage door openers in North America. Known for its ultra-quiet operation and reliability, this model is perfect for attached garages where noise reduction is important. It uses a belt-driven mechanism, which greatly reduces vibrations and loud motor sounds.
Read too: How Many Remotes Can A Chamberlain Garage Door Opener Have? Understaanding the Limits and Options
Before diving into wiring, it’s important to understand that the Whisper Drive is compatible with smart home technology, has battery backup features, and supports wireless keypads, wall controls, and safety sensors—all of which require proper wiring.
Understanding the Basics Before Wiring
Before we jump into the actual steps on how to wire a Chamberlain Whisper Drive garage door opener, you’ll want to gather a few tools and review some foundational knowledge.
Tools You’ll Need:
- Wire stripper
- Screwdriver set
- Ladder
- Electrical tape
- Voltage tester (optional but recommended)
- Chamberlain installation manual (specific to your model)
- 18-22 gauge low-voltage wire (typically included with the unit)
Important Wiring Components:
- Wall Control Panel – Activates the opener from inside the garage.
- Safety Reversing Sensors – Prevents the door from closing if an object is detected.
- Power Source – Typically a ceiling outlet near the opener unit.
- Garage Door Opener Unit – The motorized mechanism attached to the ceiling.
How To Wire A Chamberlain Whisper Drive Garage Door Opener Step by Step
Now, let’s dive into the full step-by-step guide to how to wire a Chamberlain Whisper Drive garage door opener safely and correctly.
Step 1: Turn Off the Power
Safety first. Disconnect power from the garage circuit by flipping the appropriate breaker. Always double-check that power is off using a voltage tester before working on any electrical components.
Step 2: Mount the Opener and Components
Install the motor unit to the ceiling using the brackets provided. Mount the wall control panel near the entry door and install the safety sensors on each side of the garage door opening, 6 inches above the floor.
Step 3: Run Wires to the Wall Control Panel
Using the low-voltage wire provided:
- Strip about ½ inch of insulation off both ends of the wire.
- Run the wire from the motor unit to the wall control location.
- Connect the RED wire to the RED terminal and the WHITE wire to the WHITE terminal on the opener.
- On the wall control, connect the wires accordingly. Ensure they’re tightly secured with no exposed copper.
Step 4: Install the Safety Sensors
Each sensor has two wires—typically white and black or white-striped.
- Route both sets of sensor wires back to the motor unit.
- Strip the ends and connect:
- White wires from both sensors to the WHITE terminal.
- Black or striped wires to the BLACK terminal.
Make sure the sensors are aligned properly so the beam isn’t blocked. A solid green light on both sensors usually indicates correct alignment.
Step 5: Plug In the Opener and Test
Reconnect power and plug the opener into a grounded ceiling outlet. Test the wall control and ensure the safety sensors function by obstructing the beam—this should prevent the door from closing.
Wiring Diagram Overview
Understanding the wiring diagram is essential, especially if you encounter installation issues.
Here’s a simplified outline:
- Wall Control Panel:
- Red wire ➝ Red terminal
- White wire ➝ White terminal
- Safety Sensors:
- White wires ➝ White terminal
- Black/striped wires ➝ Black terminal
- Power Cord: Plug into 120V grounded outlet (do not hardwire unless permitted by local code)
You’ll find this diagram in the instruction manual that comes with your specific model. Some Chamberlain models may include a sticker with the diagram inside the opener housing.
Common Wiring Issues and Troubleshooting
Even when following instructions carefully, issues can arise. Here are the most common wiring problems and how to fix them.
Wall Control Isn’t Responding
- Check for reversed polarity (wires on the wrong terminals).
- Ensure wires are securely connected and not damaged.
- Power may not be reaching the motor—use a voltage tester.
Safety Sensors Not Lighting Up
- Ensure they’re properly aligned.
- Check for damaged wires or loose connections.
- Replace sensors if one light fails to turn on.
Garage Door Won’t Close
- If the opener blinks but doesn’t close, the sensors are likely misaligned or obstructed.
- Try realigning the sensors and cleaning the lenses.
Smart Features: Additional Wiring for Accessories
Modern Whisper Drive models may support additional wired components:
Wireless Keypads:
These don’t require wiring but need to be programmed via the Learn button on the opener.
Battery Backup Unit:
Wired internally—usually plug-and-play with no manual wiring required.
Light Modules:
Some units support external wired lighting. Check your manual for specific terminals and load ratings.
Safety Tips While Wiring a Garage Door Opener
- Always follow the local electrical code.
- Don’t splice low-voltage wires with high-voltage ones.
- Avoid using staples to secure wires; use insulated clips to prevent short circuits.
- Turn off the opener and unplug it before making any changes.
Maintaining Your Chamberlain Whisper Drive Wiring
Once your wiring is complete, perform these periodic checks:
- Test wall control and remote regularly.
- Inspect wires for wear or damage.
- Realign safety sensors if bumped.
- Replace batteries in remotes annually.
Proper maintenance helps prolong the life of your opener and prevents unexpected malfunctions.
When to Call a Professional
While DIY installation is very doable, consider hiring an expert if:
- You’re not comfortable working with electrical components.
- Your garage lacks proper wiring or has outdated circuits.
- Your Chamberlain unit requires ceiling reinforcement or structural adjustment.
Conclusion: Reliable Operation Starts with Smart Wiring
Learning how to wire a Chamberlain Whisper Drive garage door opener is not only about following a few basic steps—it’s about ensuring safety, function, and long-term reliability. With careful planning, proper tools, and attention to detail, you can install and wire your garage door opener like a pro.
Whether you’re upgrading your system or replacing a malfunctioning unit, understanding the wiring ensures smoother operation, better security, and peace of mind.
Leave a Reply