Garage door openers have revolutionized how we interact with our garages, making access effortless and secure. Among the popular brands in the market, Chamberlain stands out for reliability and performance. If you’ve recently purchased a Chamberlain 1/2 HP garage door opener or are planning to install one yourself, you might be wondering how to approach the setup process properly. This guide provides a complete, step-by-step explanation on how to setup Chamberlain 1 2 HP garage door opener, even if you’re not particularly tech-savvy.
Whether you’re a DIY enthusiast or a homeowner looking to save on installation costs, this tutorial will walk you through the entire process in a clear and easy-to-understand manner.
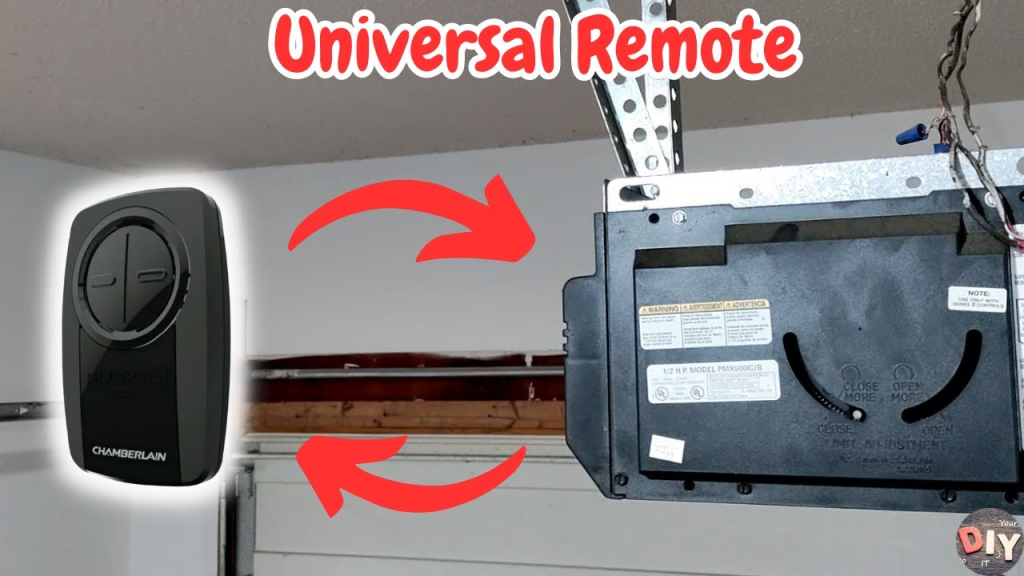
Read too: How Many Remotes Can A Chamberlain Garage Door Opener Have? Understaanding the Limits and Options
Why Choose a Chamberlain 1/2 HP Garage Door Opener?
Before diving into the setup, it’s essential to understand what makes this specific unit a solid choice. The Chamberlain 1/2 horsepower garage door opener is ideal for most standard residential garage doors. It is strong enough to lift sectional garage doors that are not overly heavy or reinforced.
Key Benefits:
- Durability: Built with high-grade materials for long-lasting use.
- Quiet operation: Reduces noise, perfect for garages near bedrooms or living spaces.
- Security features: Includes rolling code technology to prevent unauthorized access.
- Ease of installation: Designed for quick installation with a helpful instruction manual.
Tools and Materials You’ll Need
Before you begin the installation process, gather the following tools and materials:
- Drill and drill bits
- Adjustable wrench
- Socket set
- Stepladder
- Level
- Tape measure
- Safety glasses
- Screwdrivers (flathead and Phillips)
- Pliers
- Pencil or marker
- Garage door opener kit (including rail assembly, motor unit, sensors, remotes, and wall control)
Having everything within reach ensures that you can move through the setup process smoothly without unnecessary delays.
How To Setup Chamberlain 1 2 Hp Garage Door Opener: Step-by-Step Guide
This section focuses specifically on the detailed instructions for installing the Chamberlain 1/2 HP garage door opener.
Step 1: Preparation and Safety Check
Safety first! Ensure the garage door is in proper working condition before beginning the installation. Disconnect all power supplies and secure the garage door in the down position.
Inspect the door’s balance by lifting it manually halfway — it should stay in place. If not, consult a professional before installing the opener.
Step 2: Assemble the Rail and Attach to the Motor Unit
- Unpack your Chamberlain opener and identify the rail sections.
- Connect the rail sections by sliding them together until they lock in place.
- Attach the rail to the motor unit using the included hardware.
- Slide the trolley onto the rail.
Tip: Make sure the rail is straight and level — an uneven rail can cause operational issues later on.
Step 3: Mounting the Rail to the Header Bracket
- Locate the center point of your garage door and mark it on the header above the door.
- Install the header bracket using lag screws.
- Lift the rail and connect it to the header bracket using a clevis pin and fastener ring.
This bracket ensures that the opener is securely attached above the door and aligns with the center of the garage door.
Step 4: Position the Motor Unit and Secure It
- Raise the motor unit and use a stepladder to position it properly.
- Use hanging straps or angle iron to mount the opener to the ceiling joists.
- Ensure the motor is parallel to the rail and tightly secured.
You may need to cut or bend metal straps to fit your garage ceiling setup.
Wiring the Safety Sensors and Wall Control Panel
The safety reversing sensors are essential for the secure operation of your garage door. They prevent the door from closing when something is in its path.
Step 5: Install the Safety Sensors
- Position sensors on either side of the garage door, no more than 6 inches from the floor.
- Mount them using brackets and screws.
- Run the sensor wires back to the opener, securing them along the wall or ceiling.
Follow the wiring diagram in your manual to avoid confusion. If installed incorrectly, the door won’t close properly.
Step 6: Mount the Wall Control
- Choose a location inside your garage near the door.
- Run the control wires to the opener.
- Connect the wires to the terminals marked for wall control.
Use a level to ensure that your control panel is aligned correctly.
Final Setup and Testing Procedures
Step 7: Connect to Power and Program the Opener
Once everything is mounted and wired:
- Plug in the opener.
- Follow the instructions in the user manual to program remote controls and keypads.
- Set the travel limits to tell the opener how far the door should move.
- Adjust force settings to ensure the opener responds correctly to resistance.
Most Chamberlain models include a Learn button, which simplifies syncing your remotes and keypads.
Troubleshooting Common Issues After Setup
If you’ve followed all instructions on how to setup Chamberlain 1 2 Hp garage door opener but run into problems, here are a few tips:
- Door doesn’t open/close properly: Check the travel and force settings.
- Sensor lights are blinking: Realign the safety sensors and ensure nothing is blocking them.
- Remote doesn’t work: Reprogram the remote or replace the battery.
- Door reverses after touching the floor: Adjust the down travel limit.
Refer to the Chamberlain troubleshooting guide included with your product or check online resources for detailed help.
Maintenance Tips for Long-Term Use
Proper maintenance ensures your garage door opener runs smoothly for years.
- Lubricate the door and opener chain every 6 months.
- Inspect the safety sensors regularly to ensure alignment.
- Test the auto-reverse feature monthly.
- Tighten hardware annually.
When to Call a Professional
While many homeowners can handle the installation process, it’s best to call a professional if:
- You have a heavy or custom garage door.
- Your ceiling or mounting area has complex architecture.
- Electrical wiring makes you uncomfortable.
- You’re unsure about spring tension or door balance.
Conclusion
Setting up a Chamberlain 1/2 HP garage door opener might seem daunting at first, but with the right tools, a bit of patience, and this guide in hand, the task becomes very manageable. By following the step-by-step instructions outlined above, you can ensure that your garage door opener works reliably, efficiently, and safely for years to come.
Remember, the key to a successful setup lies in preparation, attention to detail, and understanding your equipment. We hope this comprehensive guide on how to setup Chamberlain 1 2 HP garage door opener helps you take control of your garage door installation like a pro.
Leave a Reply