Setting up a new remote for your Chamberlain garage door opener is a straightforward task, but it requires a few essential steps to ensure it works properly. Whether you’ve just bought a new remote or need to reprogram an existing one, understanding how to set up my Chamberlain garage door opener remote can make your life much easier. In this article, we will guide you through the process of setting up your remote, troubleshooting common issues, and sharing some helpful tips along the way. Let’s get started!
Why Setting Up Your Chamberlain Garage Door Opener Remote Is Important
The Chamberlain garage door opener remote allows you to operate your garage door from a distance, offering convenience and safety. Whether you’re leaving for work, returning home, or simply need to open or close the door, having your remote properly set up is key to ensuring seamless operation. Without it, you would need to manually operate your garage door, which can be inconvenient, especially in bad weather or when you’re in a rush.
Getting the remote correctly paired with your Chamberlain opener will allow you to open or close the door with just a press of a button. It also ensures that the opener functions safely, as remotes use specific codes that prevent interference with other devices.
How To Set Up My Chamberlain Garage Door Opener Remote: A Simple Guide
Follow these steps carefully to set up your Chamberlain garage door opener remote. Whether you’re setting up a new remote or reprogramming an existing one, the process is simple and easy to follow.
Step 1: Identify Your Garage Door Opener Model
Before you begin the setup process, you’ll need to confirm the model of your Chamberlain garage door opener. Chamberlain offers a variety of opener models, and while the process for setting up the remote is similar across many models, there may be slight differences based on the specific opener. You can find your model number on the main unit of your garage door opener, typically located near the light or on the back of the motor.
Once you have the model number, make sure the remote you are setting up is compatible with your garage door opener. You can find this information in the remote’s manual or by checking the product description.
Step 2: Prepare Your Remote
Next, prepare your remote for the setup process. If it’s a brand-new remote, make sure to insert the necessary batteries. Most Chamberlain remotes require standard AAA or 3V batteries. Be sure to use fresh, high-quality batteries to avoid issues with range or signal strength. Follow the instructions on the battery compartment to ensure you insert them correctly.
If you’re reprogramming an old remote, make sure the batteries are still functional or replace them as needed. A dead or weak battery is one of the most common reasons for issues with remote pairing.
Step 3: Locate the “Learn” Button on Your Chamberlain Opener
To set up your Chamberlain garage door opener remote, you need to press the “learn” button on the opener. This button is used to pair new devices, including remotes, with the garage door opener’s system.
To locate the “learn” button:
- Open your garage door and stand under the opener’s motor unit (the part attached to the ceiling).
- Look for the small, colored button. It is often near the antenna or light bulb of the opener. Depending on the model, the button may be green, red, yellow, or orange.
Once you’ve found the “learn” button, you’re ready to begin the programming process.
Step 4: Put the Opener in Learn Mode
To begin the setup, press the “learn” button on your garage door opener. After pressing it, the indicator light will either blink or remain steady, depending on your model. This means the opener is in programming mode, ready to accept the signal from your remote.
You’ll have a short window of time—usually about 30 seconds—to press the remote’s button and send a signal to the opener. If you miss the window, you will need to press the “learn” button again to re-enter learn mode.
Step 5: Program Your Chamberlain Remote
While the opener is in learn mode, it’s time to program the remote. Here’s how:
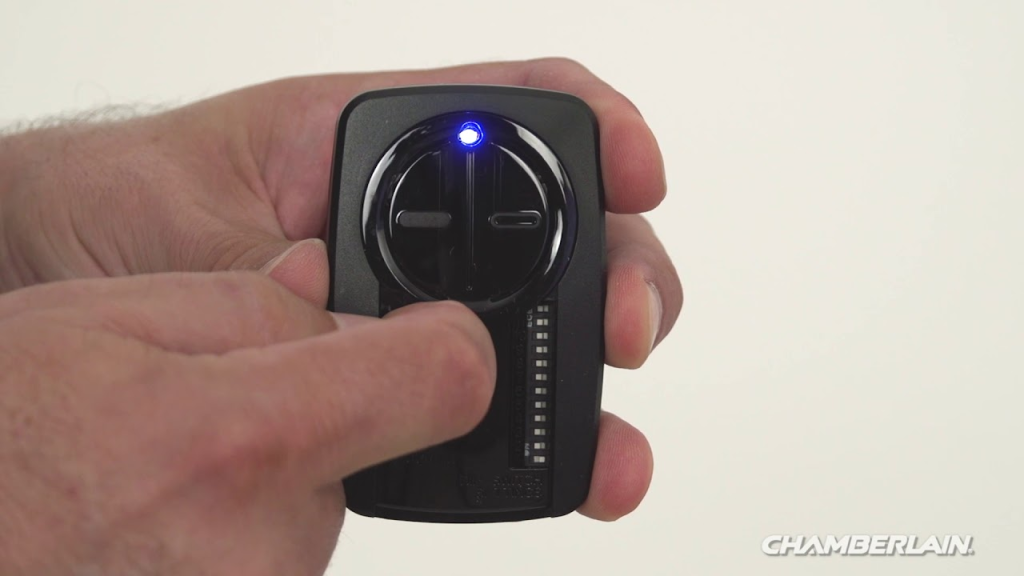
- Press the button on the remote: Press and hold the button on the remote that you want to use to open and close the garage door. Hold it for a few seconds until the opener’s indicator light flashes or stays on.
- Wait for confirmation: After you press the button, the opener’s light should flash or the indicator light should turn off to confirm that the programming was successful.
You may need to test the remote by pressing the button to see if it activates the garage door opener. If it works, you’ve successfully set up the remote! If not, repeat the steps to ensure that the remote is properly paired.
Step 6: Program Additional Remotes (Optional)
If you have more than one Chamberlain garage door opener remote, you can repeat the process to program each additional remote. Simply press the “learn” button again for each new remote you want to set up and repeat the programming steps for each one. Each remote can be paired with the opener in the same way.
Step 7: Test the Remote
Once you’ve programmed the remote, it’s essential to test it to make sure it works. Stand a reasonable distance from the garage door opener and press the button on the remote to check if it opens and closes the garage door. If it works, the setup is complete!
Troubleshooting Tips
If you encounter any issues while setting up your remote, here are some helpful troubleshooting tips:
- Ensure Fresh Batteries: If your remote isn’t working after programming, double-check the batteries. Make sure they are inserted correctly and are fresh.
- Press the Learn Button Long Enough: If the opener’s light doesn’t flash or stay on, you might not have pressed the “learn” button long enough. Try again and make sure you press it for a few seconds until the light changes.
- Repeat the Process: Sometimes, the remote may not sync on the first attempt. If this happens, simply repeat the process and ensure you press the correct buttons in the correct order.
- Check the Distance: If you’re too far from the opener when pressing the remote, the signal may not reach it. Try moving closer to the opener and retry the process.
- Reset the Opener: If nothing works, try resetting the opener by holding the “learn” button for about 10 seconds. This will erase all paired remotes, allowing you to start the programming process from scratch.
Additional Tips for Using Your Chamberlain Garage Door Opener Remote
- Avoid Interference: Ensure there is no interference from other electronic devices that could disrupt the signal between the remote and the opener.
- Keep the Remote Clean: Dirt, debris, and moisture can affect the remote’s functionality. Keep it clean and dry to ensure proper signal transmission.
- Limit Remote Sharing: Avoid giving your remote to others unless necessary. This reduces the risk of unauthorized access to your garage.
Conclusion
How to set up my Chamberlain garage door opener remote is an easy process when you follow the steps outlined in this guide. By taking a few minutes to program your remote, you can enjoy the convenience of controlling your garage door from a distance. Remember, the key steps are to identify the model of your opener, locate the “learn” button, and pair your remote within the designated time frame. If you encounter any problems, troubleshooting steps are provided to help resolve common issues.
Once your remote is set up, you’ll be able to open and close your garage door with just a press of a button—making your life a little bit easier and more convenient.
Leave a Reply