How To Replace Logic Board In Chamberlain Garage Door Opener? When your Chamberlain garage door opener stops working, one of the most common issues can be a faulty logic board. The logic board, or control board, is responsible for interpreting signals from the remote control and the wall button to open and close the garage door. If your door isn’t responding or is acting erratically, replacing the logic board may be the solution.
In this article, we’ll guide you through the process of replacing the logic board in a Chamberlain garage door opener. From identifying the issue to the final installation, this step-by-step guide will ensure your repair goes smoothly.
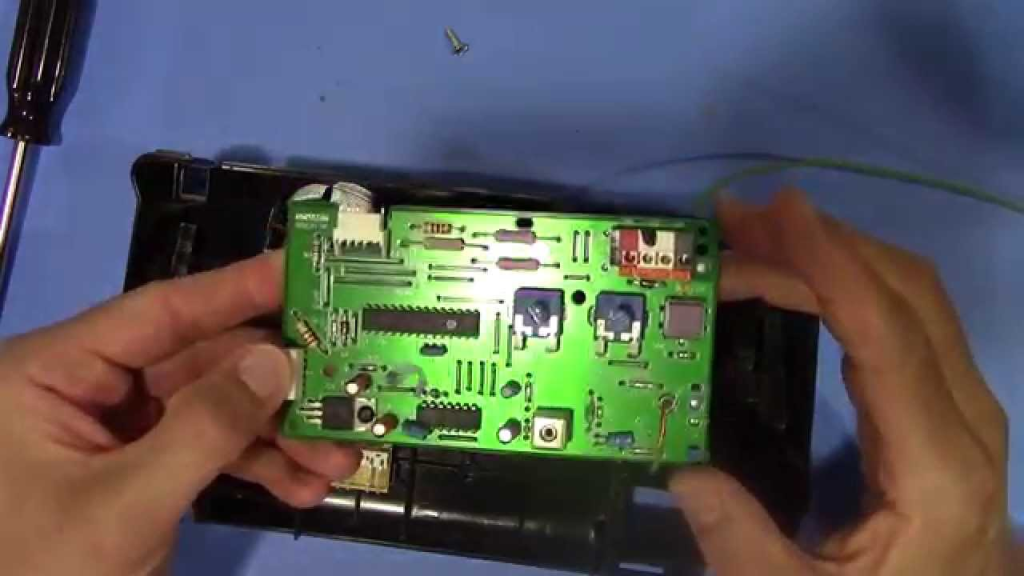
Understanding the Logic Board in a Chamberlain Garage Door Opener
The logic board is the brain of the garage door opener. It controls various functions, including the operation of the motor, the safety sensors, and the response to your remote signals. The Chamberlain logic board is designed to manage all these tasks and make your garage door open and close efficiently. When it malfunctions, you may notice your door doesn’t respond, moves erratically, or doesn’t open at all.
Read too: How Many Remotes Can A Chamberlain Garage Door Opener Have? Understanding the Limits and Options
Knowing how the logic board works helps you understand why replacing it may solve your garage door problems. Before diving into the replacement process, it’s important to identify whether the logic board is indeed the issue.
Signs You Need to Replace the Logic Board
Several signs indicate that your logic board may need replacement. Here are a few common ones:
- Unresponsive Door: If the garage door doesn’t open or close when you press the remote or wall button, the logic board could be the issue.
- Erratic Behavior: If the door moves in an unpredictable manner (opens or closes partially and then stops), a faulty logic board might be responsible.
- Error Codes: Many Chamberlain models display error codes when there’s a problem with the logic board. Check the opener’s display panel or LED lights for these codes.
- Noisy Motor: A motor running without proper control could be a sign that the logic board is not sending correct signals.
If you experience one or more of these symptoms, it’s time to replace the logic board.
Tools You Will Need
Before starting the replacement process, gather the following tools:
- Screwdriver (flathead and Phillips)
- Socket wrench
- Pliers
- Replacement logic board for your specific Chamberlain model
- Step ladder (if needed)
Having all these tools ready will ensure that you can complete the job without interruptions.
Step-by-Step Instructions on How to Replace Logic Board in Chamberlain Garage Door Opener
Now that you have everything you need, follow these detailed steps to replace the logic board in your Chamberlain garage door opener:
4.1. Step 1: Disconnect Power
Safety first! Before you begin working on the garage door opener, ensure the power is turned off. Disconnect the opener from the power outlet or turn off the circuit breaker that supplies power to the unit. This prevents any risk of electrical shock while you’re working.
4.2. Step 2: Remove the Cover Panel
Use your screwdriver to remove the screws holding the cover panel in place. Once the screws are removed, gently take off the cover. Set it aside in a safe place. The logic board will be visible once the panel is off.
4.3. Step 3: Disconnect Wires from the Logic Board
Take note of the wiring configuration before disconnecting anything. You can take a photo to help you remember the correct placement later. Using your pliers or a small screwdriver, carefully disconnect the wires from the old logic board. Be sure to keep the wires safe and avoid damaging any connectors.
4.4. Step 4: Remove the Faulty Logic Board
Once the wires are disconnected, remove any screws or bolts securing the logic board to the opener’s housing. Gently pull the old board out and set it aside. Be careful not to damage any other components inside the opener.
4.5. Step 5: Install the New Logic Board
Now, take your new logic board and align it with the mounting holes in the opener housing. Secure it with screws or bolts to hold it in place. Make sure it fits snugly and is properly aligned before proceeding.
4.6. Step 6: Reconnect the Wires and Replace the Cover Panel
Once the new logic board is in place, reconnect the wires to the corresponding terminals on the new board. Double-check the wiring configuration to ensure everything is in its correct place. Once the wiring is secure, replace the cover panel and screw it back into place.
4.7. Step 7: Test the Garage Door Opener
With everything reassembled, it’s time to test the opener. Reconnect the power and test the garage door by using the remote and wall button. Observe if the door opens and closes smoothly and without issues. If everything is working fine, congratulations, you’ve successfully replaced the logic board!
Tips for Maintaining Your Chamberlain Garage Door Opener
To extend the lifespan of your new logic board and ensure your garage door opener works well for years to come, here are a few maintenance tips:
- Regular Lubrication: Lubricate the moving parts of the door, such as the tracks and rollers, to reduce wear and tear.
- Check the Sensors: Ensure the safety sensors are aligned and functioning properly. Misaligned sensors can cause the door to malfunction.
- Inspect the Cables and Tracks: Look for any signs of damage or wear in the cables and tracks, as these can affect the performance of the opener.
- Replace Batteries: Regularly replace the batteries in your remote control to prevent signal issues.
Proper maintenance can prevent the need for future repairs and keep your garage door opener running smoothly.
Conclusion
Replacing the logic board in your Chamberlain garage door opener may seem like a daunting task, but with the right tools and guidance, it’s a manageable DIY repair. By following the steps in this article, you can restore functionality to your garage door and save money on professional repairs. Remember to always prioritize safety and take your time with each step for the best results.
Leave a Reply