If you own a Chamberlain garage door opener, chances are you rely on it for both convenience and security. One important feature of these garage door openers is the built-in light that illuminates your garage when the door opens. However, like any light bulb, this bulb can burn out over time. If you find yourself in a situation where the light isn’t working, you’ll need to replace it. This article will walk you through the process of how to replace the light bulb in your Chamberlain garage door opener.
Why Replace the Light Bulb in Your Chamberlain Garage Door Opener?
The light bulb in your Chamberlain garage door opener is an essential feature that provides visibility and enhances safety when entering or exiting your garage, especially at night. Over time, light bulbs wear out and stop working, but replacing them is straightforward.
When the light bulb burns out, you may notice that the garage opener’s light fails to illuminate when you open or close the garage door. Luckily, replacing the bulb isn’t a complicated task, and you can do it yourself without needing a professional. Let’s get started on how to replace the light bulb in your Chamberlain garage door opener.
How To Replace Light Bulb In Chamberlain Garage Door Opener: A Simple Guide
Step 1: Gather Your Tools and Materials
Before you begin, it’s essential to gather all the necessary tools and replacement parts. Here’s what you’ll need to replace the light bulb:
- A replacement bulb that is compatible with your Chamberlain garage door opener (check your model’s manual for the exact bulb type)
- A ladder to safely reach the garage door opener
- A cloth or glove to avoid getting oils from your skin on the new bulb
- A screwdriver (if necessary to remove any covers or access panels)
By ensuring you have everything ready, you can work efficiently and safely.
Step 2: Disconnect Power to the Garage Door Opener
Safety should always come first when dealing with electrical devices. To prevent any risk of electric shock or accidental activation of the opener, disconnect the power supply. There are two primary ways to do this:
- Unplug the Opener: If your Chamberlain opener is plugged into an electrical outlet, simply unplug the device.
- Turn Off the Circuit Breaker: Alternatively, you can turn off the circuit breaker that powers your garage door opener to ensure the device is completely powered down.
Both options will ensure that the opener is de-energized while you replace the bulb.
Step 3: Locate the Light Bulb Compartment
Once the power is disconnected, you’ll need to locate the light bulb compartment. On most Chamberlain models, the light bulb is located under the motor unit. You may need to remove a cover or panel to access the bulb. This compartment is usually located at the front or side of the opener.
Some Chamberlain models may require you to remove a light lens or lens cover to expose the bulb. Use a screwdriver if necessary to gently unscrew the cover. Be careful not to damage the lens or the housing while removing the cover.
Step 4: Remove the Old Light Bulb
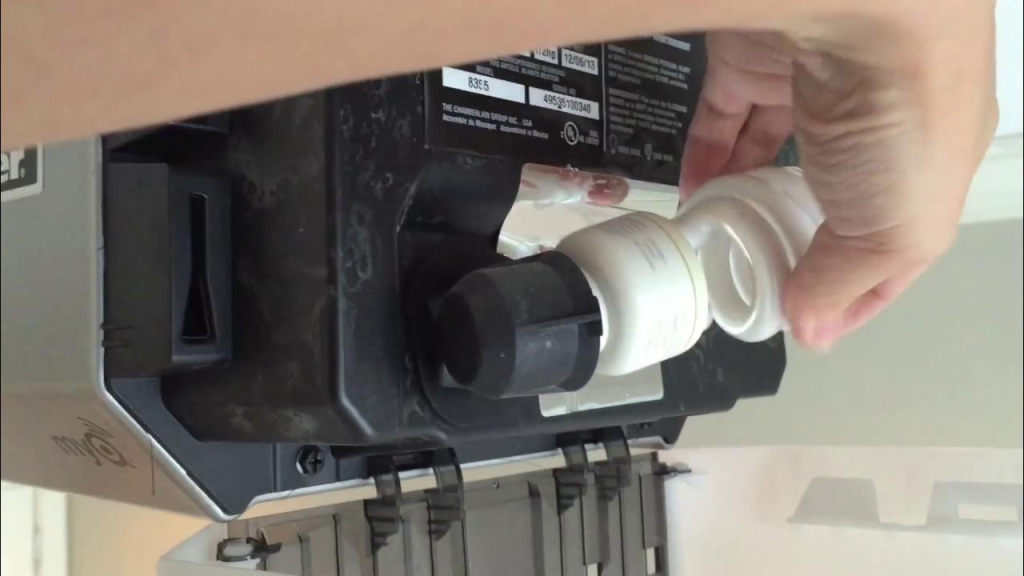
Now that you have access to the bulb, it’s time to remove the old one. Light bulbs in garage door openers typically screw into place, so you can simply twist the bulb counterclockwise to remove it.
If the bulb is stuck or difficult to remove, consider using a pair of gloves for a better grip or gently wiggling the bulb back and forth as you unscrew it.
Step 5: Insert the New Light Bulb
Before inserting the new bulb, it’s a good idea to wear gloves or use a cloth to handle the new bulb. This will help avoid getting oils or dirt from your hands on the bulb, which can shorten its lifespan.
Once the new bulb is ready, carefully screw it into the socket in a clockwise direction. Make sure it’s snug but avoid overtightening, as that could damage the socket.
If your Chamberlain model requires a specific bulb type or wattage, make sure to follow the manufacturer’s recommendations. Using the wrong type of bulb could cause overheating or other issues.
Step 6: Test the Light
After the new light bulb is securely installed, it’s time to test it. Reconnect the power supply by plugging in the opener or turning the circuit breaker back on. Then, activate your garage door opener to check if the light works properly.
If the light turns on as expected, you’ve successfully replaced the light bulb! If the light doesn’t work, make sure the bulb is properly screwed in and check to ensure the bulb type and wattage are correct.
Step 7: Replace the Cover or Lens
Once the light is working, replace the cover or lens you removed earlier. Secure it back in place with a screwdriver, if necessary. This will protect the light bulb and prevent dust or debris from getting inside the compartment.
Finally, clean up your workspace, ensuring all tools are put away, and any old light bulbs are disposed of safely.
How To Replace Light Bulb In Chamberlain Garage Door Opener: Tips and Troubleshooting
Although replacing the light bulb is usually a simple task, here are a few additional tips and troubleshooting steps if you encounter any issues:
- Check the Bulb Wattage: Ensure that the replacement bulb you’re using doesn’t exceed the maximum wattage recommended by Chamberlain. Using a higher wattage bulb could cause overheating and potential damage to the opener.
- Inspect the Socket: If the new bulb doesn’t work, inspect the socket for any signs of damage, corrosion, or dirt. If you notice any issues, cleaning the socket carefully with a soft cloth can help.
- Test with a Different Bulb: If the new bulb doesn’t light up, it could be defective. Try testing the bulb in a different socket or with a different fixture to confirm if the bulb is the issue.
- Ensure the Power is On: If the light still doesn’t work, double-check that the power is properly restored to the opener, and that the garage door opener is functioning normally.
If all else fails, consult the owner’s manual for further troubleshooting steps, or consider contacting Chamberlain customer support for assistance.
Conclusion
Replacing the light bulb in your Chamberlain garage door opener is a straightforward process that doesn’t require professional help. With just a few simple tools and steps, you can have your garage illuminated once again in no time. By following this guide, you ensure that your garage remains well-lit, improving safety and convenience when using your opener.
Remember to always follow safety precautions, such as disconnecting the power supply, and using the correct type of light bulb for your model. If you run into any difficulties, don’t hesitate to consult the manual or contact support.
By learning how to replace the light bulb in your Chamberlain garage door opener, you can easily maintain your opener and keep your garage running smoothly.
Leave a Reply