The Chamberlain Garage Door Opener Keypad provides homeowners with a convenient and secure way to open their garage doors without needing a traditional remote. However, like all wireless devices, the keypad needs to be properly programmed in order to work seamlessly with your garage door opener.
If you’re using a Chamberlain system with the yellow Learn button on your opener, you might be wondering how to program the keypad to sync with your opener. Don’t worry—this process is straightforward, and we’ll guide you through how to program yellow button Chamberlain garage door opener keypad in just a few simple steps.
Read too: How Many Remotes Can A Chamberlain Garage Door Opener Have? Understaanding the Limits and Options
In this article, we’ll cover everything you need to know, including how to set up the keypad, troubleshoot any issues, and ensure the security of your garage door.
Understanding the Yellow Learn Button and Keypad
Chamberlain openers that feature a yellow Learn button are compatible with many of their newer models, which include both standard garage door remotes and wireless keypads. The yellow Learn button is a critical component in syncing your keypad to the opener, as it’s the activation point for programming.
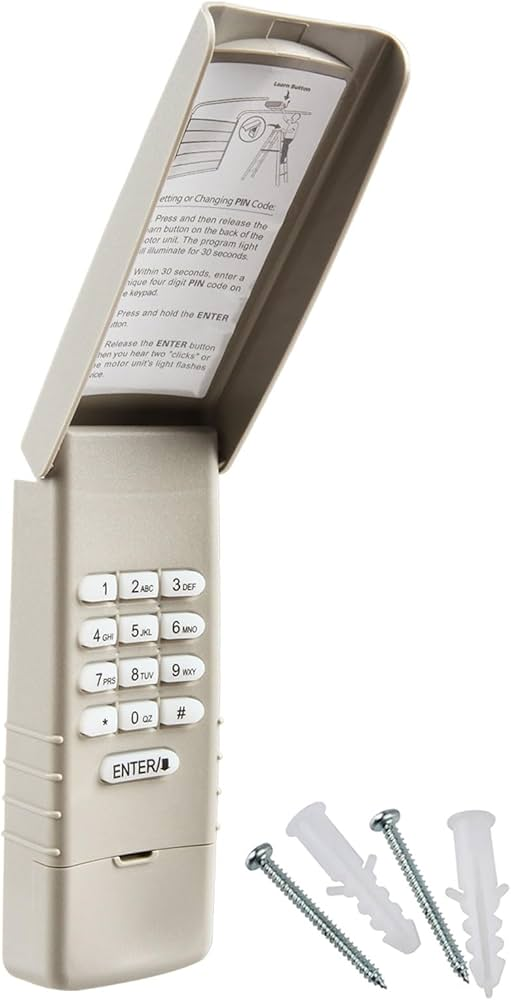
The keypad itself is a wireless entry system that uses a PIN (Personal Identification Number) to operate your garage door. The beauty of this system is that you no longer need to worry about carrying a remote or fumbling for keys. Once programmed, you can simply enter your PIN on the keypad and open your garage door.
What You Need Before You Start
Before diving into how to program yellow button Chamberlain garage door opener keypad, make sure you have the following:
- Chamberlain Garage Door Opener with the yellow Learn button
- Chamberlain Keypad that’s compatible with your opener model
- 4-digit PIN of your choice for the keypad (make sure it’s memorable but secure)
- A ladder to access the Learn button on your garage door opener motor
- Fresh batteries in the keypad
It’s also a good idea to clear the area around your garage door, just in case any adjustments are needed during the process.
How To Program Yellow Button Chamberlain Garage Door Opener Keypad
Let’s walk through the simple, step-by-step process for programming your yellow button Chamberlain garage door opener keypad. This will allow you to use your keypad to control your garage door with a secure PIN.
1: Locate the Learn Button on Your Opener
- Use a ladder to safely access the garage door opener unit.
- Find the yellow Learn button on the opener—usually located near the light cover or antenna.
- The Learn button might be hidden under a plastic cover that you’ll need to remove to access it.
2: Activate the Learn Mode
- Once you’ve located the Learn button, press and release it. The LED light next to the button should begin to blink, indicating the opener is in learn mode.
- The LED light will continue to blink for about 30 seconds, giving you time to complete the next steps.
3: Program the Keypad
- On your keypad, enter the 4-digit PIN of your choice. Make sure it’s something that you can easily remember but is not easily guessed by others.
- Press the Enter button on the keypad after you’ve entered your PIN.
- The garage door opener’s LED light will either blink or stay solid for a few seconds, signaling that the keypad has been successfully programmed.
- Test the keypad by entering the PIN you just set and pressing Enter. The garage door should open or close, confirming that the programming was successful.
4: Final Check and Safety Measures
- Test the keypad at least once more to ensure that the PIN is working as expected.
- Make sure the keypad is securely mounted in a convenient location, preferably outside the garage, near the door.
- Check the batteries periodically to make sure they’re charged and functional. If the door stops responding to the keypad, this is often a sign that the batteries are low and need to be replaced.
Troubleshooting Common Keypad Issues
Even with simple programming, you may encounter some issues. Here are a few troubleshooting tips for how to program yellow button Chamberlain garage door opener keypad if things don’t go as planned.
1. Keypad Not Responding
- Possible Cause: The keypad may not be properly synced with the opener.
- Solution: Repeat the programming steps, ensuring you press the Learn button and the Enter button on the keypad within the 30-second window.
2. Door Doesn’t Open or Close After Entering the PIN
- Possible Cause: The PIN may not have been saved correctly or the batteries in the keypad may be low.
- Solution: Reprogram the keypad and ensure the batteries are replaced if necessary.
3. Keypad Code Lost
- Possible Cause: If the code was accidentally erased or the keypad is reset.
- Solution: Follow the programming steps again to reset the PIN and reprogram the keypad to the opener.
4. Remote Stops Working After Keypad Programming
- Possible Cause: You may have inadvertently erased the remote’s memory during programming.
- Solution: Reprogram the remote using the Learn button.
How To Program Additional Keypads or Remotes
If you want to program additional keypads or remotes to the same Chamberlain opener, simply repeat the same steps outlined above for each additional device. You can program up to four remotes and one keypad with the same Learn button, making it easy to manage access for family members or guests.
If you need to erase all remotes and keypads to start fresh, follow these steps:
- Press and hold the Learn button for about 6 seconds until the LED light turns off.
- All programmed devices will be erased from the system.
- Reprogram only the devices you wish to use with the opener.
Why Is Programming Your Keypad Important?
Programming a Chamberlain garage door opener keypad is more than just a convenience—it’s about enhanced security. The keypad allows you to set a personal PIN, which means you don’t have to worry about losing or carrying a remote. If someone in your household needs access, simply provide them with the PIN, which is easier to update than replacing a lost remote.
Moreover, a keypad also adds a layer of flexibility, especially for households with multiple users or for garages that are used by different people. If your family members or visitors need access to your garage without a traditional remote, the keypad is a safe, easy solution.
Security Considerations for Your Keypad
To maintain security while using a keypad:
- Change your PIN regularly to ensure that only authorized users can access your garage.
- Use a unique PIN that isn’t easy for someone to guess. Avoid using common combinations like 1234 or 0000.
- If your keypad is exposed to the elements, make sure it’s properly protected from weather damage to avoid malfunctioning.
Maintenance Tips for Long-Term Use
- Test the keypad periodically to ensure it’s still working correctly.
- Replace batteries as needed—typically every 1–2 years, depending on usage.
- Clean the keypad with a soft cloth to remove any dirt or debris that could interfere with its operation.
- Check the programming every 6 months to ensure all devices (keypad and remotes) are synced correctly.
Conclusion: Easy and Secure Access with Your Chamberlain Keypad
Now that you know how to program yellow button Chamberlain garage door opener keypad, you can enjoy secure, convenient access to your garage. The process is quick, easy, and adds an extra layer of security to your home. Whether you’re setting up the keypad for the first time or adding an additional device, following these steps ensures your system works perfectly.
With the convenience of a personal PIN and the flexibility of wireless operation, the keypad is an essential accessory for homeowners with Chamberlain garage door openers. Follow the steps carefully, and you’ll have your new system up and running in no time!
Leave a Reply