If your Chamberlain belt drive garage door opener isn’t functioning as smoothly as it should, or if you notice issues with its movement, noise, or alignment, it may be time for some adjustments. Knowing how to adjust a Chamberlain belt drive garage door opener can save you time, money, and hassle by ensuring that your garage door operates efficiently. Whether you’re trying to fine-tune the opener’s sensitivity, adjust the travel limits, or address noise concerns, this guide will walk you through everything you need to know.
How To Adjust A Chamberlain Belt Drive Garage Door Opener: A Complete Guide
Before diving into the adjustments, make sure your Chamberlain belt drive garage door opener is turned off and unplugged. Safety should always be your priority when working with any electrical appliance. Once you’re ready, follow these detailed steps.
Read too: How Many Remotes Can A Chamberlain Garage Door Opener Have? Understaanding the Limits and Options
Step 1: Understand Your Chamberlain Belt Drive Garage Door Opener
Chamberlain belt drive openers are popular for their smooth, quiet operation, thanks to their rubber belt system. Unlike chain drive models, which can be noisy, the belt system uses a reinforced rubber belt to open and close the door with minimal sound. However, over time, certain factors may affect its performance, such as wear and tear on the belt, misaligned sensors, or incorrect limit settings.
Before making adjustments, familiarize yourself with the basic components of the opener:
- Belt: The rubber belt that moves the trolley and opens the door.
- Motor: The electrical motor responsible for powering the opener.
- Limit switches: These control the upward and downward travel of the door.
- Force adjustment: This regulates the force required to open and close the door.
Step 2: Adjusting the Travel Limits
Travel limits are crucial because they control how far the garage door travels when opening or closing. If the door doesn’t fully open or close, or if it’s traveling too far, you may need to adjust the limit switches.
How to adjust travel limits on your Chamberlain belt drive garage door opener:
- Locate the limit adjustment screws: These are typically found on the opener’s motor unit. Look for two small dials or screws labeled “Up” (for opening) and “Down” (for closing).
- Adjust the ‘Up’ limit: If your garage door doesn’t open all the way, use a screwdriver to turn the “Up” screw slightly. Turning it clockwise typically reduces the travel distance, while counterclockwise will increase it. Start with small adjustments to avoid over-correcting.
- Adjust the ‘Down’ limit: If your garage door doesn’t close completely or stops too soon, adjust the “Down” screw in the same manner. Be sure to test the door after each adjustment to ensure it stops at the correct point.
- Test the door: After adjusting both limits, test the door by operating it a few times to see if the door opens and closes fully. If necessary, repeat the adjustment process.
Step 3: Adjust the Force Settings
The force adjustment determines how much effort the opener needs to move the door. If the opener struggles to lift the door or stops prematurely, the force setting may need to be adjusted. Conversely, too much force can strain the motor and cause unnecessary wear.
How to adjust the force settings on your Chamberlain belt drive garage door opener:
- Locate the force adjustment dials: These are usually located on the motor unit. There will be two dials—one for opening force and one for closing force.
- Adjust the opening force: If the door is hard to open or doesn’t move easily, turn the “Open Force” dial counterclockwise to decrease the force. If the door struggles to lift, increase the force by turning the dial clockwise.
- Adjust the closing force: If the door doesn’t close properly or stops mid-way, adjust the “Close Force” dial. Follow the same process, turning the dial clockwise for more force or counterclockwise for less force.
- Test the door: After adjusting the force settings, test the door again by opening and closing it a few times to ensure it moves smoothly and securely. Adjust as necessary.
Step 4: Check and Tighten the Belt
Over time, the belt on your Chamberlain belt drive garage door opener can loosen, causing the door to operate poorly. A loose belt can lead to increased wear on the motor and may prevent the door from opening or closing properly.
How to tighten the belt on your Chamberlain belt drive garage door opener:
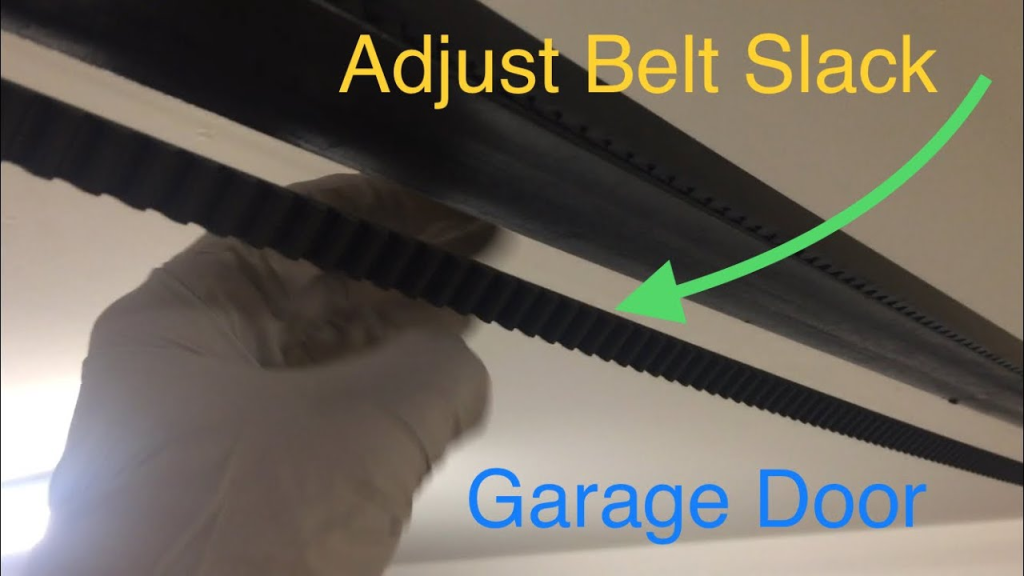
- Locate the belt: Look at the rubber belt running along the opener rail. It should be taut and straight.
- Find the belt tensioning mechanism: Depending on your model, the tensioning mechanism may be located near the opener’s motor or along the rail. It could be a tension nut or bolt.
- Tighten the belt: Using a wrench, turn the tensioning mechanism to tighten the belt. Be sure not to over-tighten it, as this can cause unnecessary strain on the opener’s motor.
- Check the belt tension: The belt should feel firm and slightly taut, but not so tight that it feels like it’s under excessive strain. Test the opener to make sure the door operates smoothly.
Step 5: Lubricate the Moving Parts
Regular maintenance is key to keeping your Chamberlain belt drive garage door opener in top condition. One simple way to improve performance and reduce noise is by lubricating the moving parts, including the belt, rollers, and rail.
How to lubricate your Chamberlain belt drive garage door opener:
- Choose the right lubricant: Use a silicone-based lubricant or a garage door-specific lubricant. Avoid WD-40, as it is too thin and can attract dirt and debris.
- Lubricate the belt: Apply a light coat of lubricant to the rubber belt, making sure it’s evenly distributed. Avoid over-applying to prevent excess lubricant from dripping.
- Lubricate the rollers and rail: Apply a small amount of lubricant to the rollers, hinges, and the rail system. This will ensure smoother operation and reduce friction.
- Test the door: After lubrication, open and close the door several times to ensure it’s running smoothly. Check for any unusual sounds or resistance.
Additional Tips for Maintaining Your Chamberlain Belt Drive Garage Door Opener
While adjusting your Chamberlain belt drive garage door opener is essential for optimal performance, regular maintenance is just as important. Here are a few extra tips for keeping your garage door opener running smoothly:
- Check the safety sensors: Make sure the safety sensors at the bottom of the door are properly aligned and free from obstruction. Misaligned sensors can prevent the door from closing properly.
- Inspect the tracks: Clean the tracks regularly to remove dirt and debris. Ensure the tracks are properly aligned to prevent strain on the opener.
- Test the reverse mechanism: Perform the reverse test by placing a small object (such as a piece of wood) on the floor under the door. When the door comes down, it should reverse direction upon contact. If it doesn’t, the force settings may need adjustment.
- Replace worn parts: Over time, parts like the rollers and springs may wear out. If you notice signs of wear, it’s important to replace them promptly to avoid further damage.
Conclusion: How To Adjust A Chamberlain Belt Drive Garage Door Opener
Adjusting your Chamberlain belt drive garage door opener is an important part of regular maintenance that ensures the door operates efficiently and safely. By following the steps outlined above, you can adjust the travel limits, force settings, tighten the belt, and lubricate the moving parts to keep your opener running smoothly for years to come.
Remember to regularly check for wear, lubricate the system, and ensure the sensors are aligned to maintain optimal performance. With these tips, your Chamberlain belt drive garage door opener will continue to provide reliable service, keeping your garage secure and convenient.
Leave a Reply