If you’re looking to add an additional remote to your Chamberlain garage door opener, you’re in the right place. Many homeowners find it useful to have more than one remote for their garage door opener, especially if multiple people use the garage frequently. Adding an extra remote can be a quick and easy process. In this detailed guide, we’ll walk you through everything you need to know about how to add an additional remote to Chamberlain garage door opener.
Whether you’re setting up a new remote or replacing an old one, our step-by-step instructions will make the process smooth. Let’s dive in and explore how to get your Chamberlain garage door opener ready to accept new remotes.
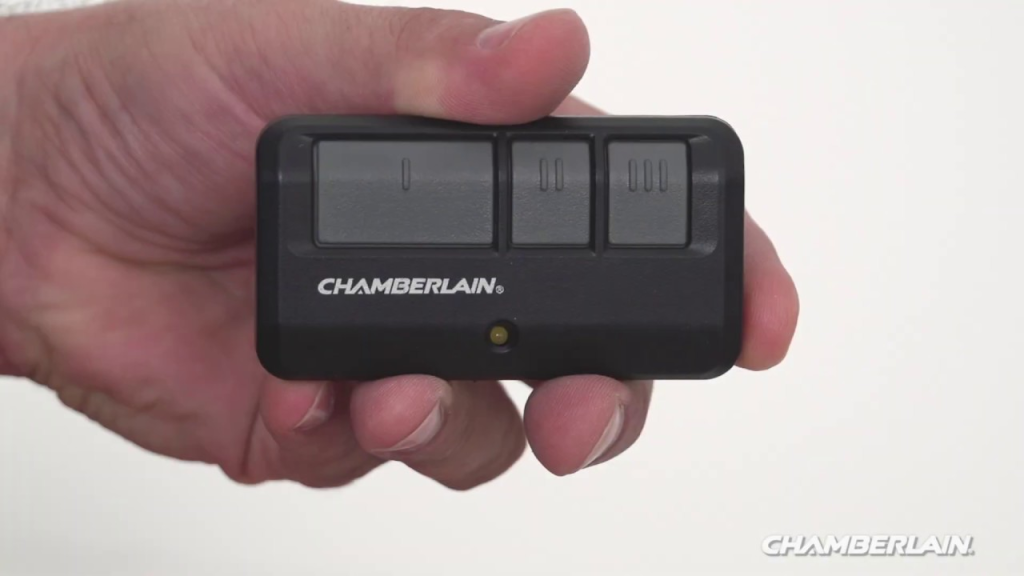
Read too: How Many Remotes Can A Chamberlain Garage Door Opener Have? Understaanding the Limits and Options
How To Add Additional Remote To Chamberlain Garage Door Opener
Before you start, it’s important to have the necessary tools. The only item you’ll need is the remote control that you wish to add to your Chamberlain garage door opener. The process for adding remotes varies slightly based on the model of your opener, but the general steps remain the same.
Step 1: Ensure the Opener is Powered On
Before proceeding, make sure that your Chamberlain garage door opener is powered on. If the opener is not receiving power, the process will not work. The opener should be plugged into an outlet and ready to operate.
Step 2: Locate the “Learn” Button
To add an additional remote to your Chamberlain garage door opener, you’ll need to locate the “Learn” button on the opener unit. This button is crucial for syncing the remote to the garage door opener.
Typically, the learn button is located on the motor unit of the opener, on the back or side of the unit. It is usually near the antenna wire, and it is often colored in either green, red, or yellow. The color might differ based on the model of the opener.
Once you find the learn button, it’s time to move on to the next step.
Step 3: Press the Learn Button
Now that you’ve located the learn button on your Chamberlain garage door opener, press and hold it for about 1-2 seconds until the indicator light starts to glow steadily. When the light turns on, it indicates that the opener is in “learning mode” and is ready to receive the signal from your remote control.
If the light does not come on, you may need to hold the learn button a bit longer or try pressing it again.
Step 4: Press the Remote Button
With the learn button lit, you now need to press and hold the button on the remote that you wish to program. Hold the button down for about 3-5 seconds. The indicator light on the opener should blink and then turn off, which means that the Chamberlain garage door opener has successfully received the signal from the remote and has programmed it.
After the light turns off, release the remote button. You can now test the new remote to see if it opens or closes the garage door.
Step 5: Add Additional Remotes (If Needed)
If you want to add more than one remote, simply repeat steps 3 and 4 for each additional remote. Each time you press the learn button, the opener will be ready to accept a new remote. Make sure to press and hold the button on the next remote you want to program.
It’s important to note that some Chamberlain garage door opener models can accommodate up to 8 remotes. However, it’s always a good idea to check your user manual for specific details regarding the number of remotes your opener supports.
Step 6: Test the New Remotes
After programming all your remotes, make sure to test them. Stand within range of the garage door and press the button on each remote to verify that it opens and closes the garage door as expected.
If one of the remotes isn’t working, you can repeat the process for that specific remote. Make sure the learn button was pressed correctly and that the remote was held down for the required amount of time.
Troubleshooting Tips for Adding Additional Remotes
While adding a new remote to your Chamberlain garage door opener is generally a straightforward process, you may encounter a few issues. Here are some common problems and how to resolve them.
1. Remote Not Syncing
If the remote isn’t syncing to the garage door opener, make sure that you’re pressing the learn button long enough for the indicator light to stay on. If the light is flashing instead of staying steady, it means the opener is not in learning mode. Try holding the button for a few more seconds.
Also, check the battery in your remote. If the battery is low, it may not transmit a strong enough signal to sync with the opener.
2. Programming Multiple Remotes
Some Chamberlain garage door opener models have limits on the number of remotes they can store. If you’ve already programmed the maximum number of remotes, the new remote won’t be added. In this case, you’ll need to delete one or more of the existing remotes before adding a new one.
To clear the remote memory, press and hold the learn button until the indicator light turns off. This will erase all programmed remotes, allowing you to start fresh. You can then add the desired remotes, one by one.
3. Remote Not Responding After Programming
If the remote was successfully programmed but isn’t responding, it may be out of range or there may be interference. Make sure you’re within a reasonable distance of the garage door when testing the remote.
If the opener’s antenna is obstructed, it could cause issues with communication between the remote and the opener. Ensure that the antenna is properly extended and not blocked by any objects.
Why You Should Add Additional Remotes to Your Chamberlain Garage Door Opener
Adding additional remotes to your Chamberlain garage door opener can significantly improve the convenience of accessing your garage. Here are a few reasons why you might want to consider adding more remotes:
- Convenience: Multiple remotes make it easier for different members of the household to use the garage door without having to share one remote.
- Backup: If one remote stops working or is lost, you’ll have a backup remote ready to go.
- Security: Some remotes offer advanced security features, such as rolling code technology, which changes the code every time the remote is used. This enhances the security of your garage.
- Aftermarket Accessories: Adding more remotes also allows you to integrate other accessories like keypads and car remotes, which can be programmed into the opener’s memory.
Final Thoughts on How To Add Additional Remote To Chamberlain Garage Door Opener
In summary, adding an additional remote to your Chamberlain garage door opener is a simple process that can be completed in just a few minutes. By following the steps outlined above, you can easily program new remotes, troubleshoot common issues, and enjoy the added convenience of having more remotes for your garage door.
Remember to check your manual for specific model information, and don’t hesitate to reach out to Chamberlain customer service if you encounter any issues during the programming process.
Leave a Reply