If your garage door opener suddenly stops working or begins to make a loud grinding noise, there’s a good chance the issue lies with the drive gear. One of the most common problems with chain- and belt-driven openers is a worn-out or broken gear assembly. This article provides a complete guide to understanding, diagnosing, and replacing the Drive Gear for Sears Craftsman Liftmaster Chamberlain Garage Door Openers, helping you avoid unnecessary technician fees and restore your opener’s full functionality.
Whether you’re a DIY homeowner or a technician looking for a refresher, this article will guide you through all the essentials, including signs of wear, compatibility, and installation tips.
Why Is the Drive Gear So Important?
The drive gear is essentially the heart of your garage door opener’s movement mechanism. It connects the motor to the sprocket, which drives the chain or belt that lifts and lowers the garage door. If this gear breaks, the motor might run, but the door won’t move.
Read too: How Many Remotes Can A Chamberlain Garage Door Opener Have? Understaanding the Limits and Options
Many garage door openers, especially from brands like Sears, Craftsman, Liftmaster, and Chamberlain, use plastic drive gears that are designed to fail safely under pressure. Over time, these gears can strip or crack due to:
- Normal wear and tear
- Poor lubrication
- Heavy usage
- Cold weather
- An unbalanced garage door
When the gear fails, it’s crucial to replace it immediately to avoid further damage to the opener’s internal components.
Signs That You Need a New Drive Gear
Before replacing the Drive Gear for Sears Craftsman Liftmaster Chamberlain Garage Door Openers, it’s important to confirm that the drive gear is indeed the issue. Here are some common symptoms:
- Grinding or clicking noise from the motor unit
- Motor runs, but the door doesn’t move
- Plastic shavings or dust inside the opener’s housing
- Sluggish movement or complete failure to operate
- Burnt smell indicating the motor is overworking due to a disconnected gear
In many cases, a simple visual inspection after removing the opener cover will reveal a stripped or broken gear.
Replacing the Drive Gear for Sears Craftsman Liftmaster Chamberlain Garage Door Openers – A Step-by-Step Guide
Replacing the Drive Gear for Sears Craftsman Liftmaster Chamberlain Garage Door Openers is a relatively straightforward process that many homeowners can handle with basic tools. However, it does require careful attention to detail and some mechanical aptitude.
Tools and Materials Needed:
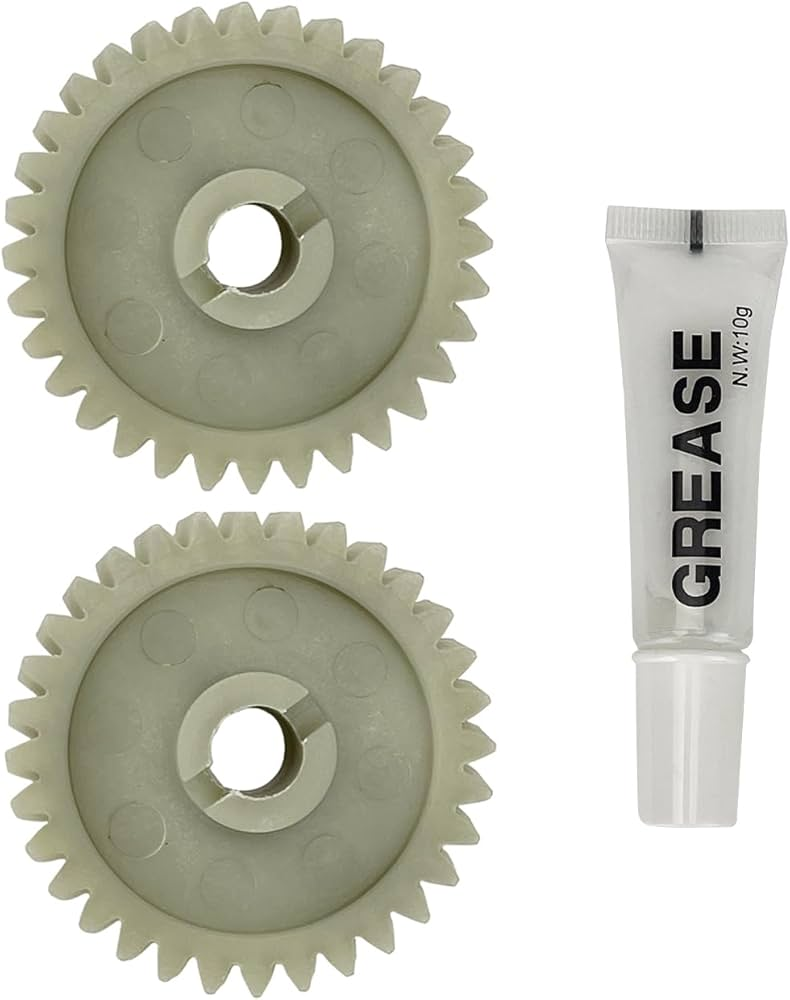
- Replacement drive gear kit (usually includes gear, grease, washers, and bushings)
- Flathead and Phillips screwdrivers
- Wrench set or socket set
- Needle-nose pliers
- Clean rag
- Silicone-based grease (if not included)
Step-by-Step Instructions:
- Unplug the Garage Door Opener
Safety first. Disconnect the power supply to avoid electrical shock or injury. - Remove the Opener Cover
Using a screwdriver, remove the screws holding the cover in place to access the internal mechanism. - Locate the Drive Gear Assembly
The drive gear is typically found at the center of the opener’s chassis, connected to the motor shaft and the sprocket. - Remove the Old Gear
Use pliers or a wrench to take off the worn gear, along with any remaining bushings or washers. - Clean the Area Thoroughly
Wipe away any gear dust or residue with a rag. Be sure to inspect for damage to surrounding parts. - Install the New Gear
Apply the included grease liberally to the new gear and install it onto the shaft, making sure it aligns correctly. - Reassemble the Unit
Once the gear is in place, reattach the opener’s cover and reconnect any wires or parts removed during disassembly. - Reconnect Power and Test
Plug the opener back in and test the system to ensure the door opens and closes smoothly.
What to Look for When Buying a Replacement Drive Gear
When purchasing a Drive Gear for Sears Craftsman Liftmaster Chamberlain Garage Door Openers, make sure it’s compatible with your specific model. While many of these brands are manufactured by the same parent company and share parts, small differences can make installation difficult or lead to malfunction.
Key Compatibility Tips:
- Check your opener’s model number (usually located on the back or side of the unit)
- Ensure the gear kit matches your opener’s horsepower (1/2 HP, 3/4 HP, etc.)
- Look for OEM or high-quality aftermarket parts
- Read customer reviews to confirm fit and longevity
Some of the most common compatible models include LiftMaster 1245, 1255, Chamberlain 41A2817, Sears Craftsman 139.xxxx series, and others.
Preventing Future Drive Gear Failures
Although the Drive Gear for Sears Craftsman Liftmaster Chamberlain Garage Door Openers is designed to wear out eventually, proper maintenance can significantly extend its lifespan.
Pro Tips:
- Lubricate the gear assembly every 6–12 months with the correct grease
- Balance your garage door to reduce pressure on the opener
- Avoid excessive opening/closing cycles
- Inspect and tighten chains or belts regularly
- Use the opener in moderate temperatures when possible
Alternatives to DIY Replacement
If you’re not confident in your mechanical skills or don’t have the time, hiring a garage door technician is always an option. The typical cost for professional gear replacement ranges from $100 to $200, depending on labor and parts.
However, if you follow a reliable tutorial and use a trusted Drive Gear for Sears Craftsman Liftmaster Chamberlain Garage Door Openers, you can often do it yourself for under $25.
Where to Buy Reliable Drive Gears
You can find compatible drive gears online or at major hardware stores. Look for:
- Amazon
- Home Depot
- Lowe’s
- Garage door specialty shops
- Official LiftMaster/Chamberlain/Sears service websites
Make sure to verify the return policy and product authenticity before buying.
Commonly Asked Questions
1. How long does a drive gear typically last?
Most drive gears last between 8 to 12 years, depending on usage and maintenance.
2. Can I upgrade the gear to metal?
Metal drive gears are available but may not be recommended for all models. Plastic gears are safer because they are designed to break before damaging more expensive components.
3. Is it safe to use the opener with a stripped gear?
No. Continuing to use the opener may cause the motor to overheat and fail, resulting in more costly repairs.
Final Thoughts
Replacing the Drive Gear for Sears Craftsman Liftmaster Chamberlain Garage Door Openers is a manageable DIY task that can restore your garage door opener to full functionality without the need for expensive repairs. With the right tools, compatible parts, and a bit of patience, you can handle the job yourself and extend the life of your opener for years to come.
Regular maintenance and proper gear lubrication are essential for preventing future failures. And if you ever doubt your ability to fix it, professional help is always a safe and effective choice.
Leave a Reply