If you own a Chamberlain Power Drive 1/2 HP Garage Door Opener, you understand how vital it is to keep it functioning smoothly. Whether you’re installing it for the first time, replacing parts, or troubleshooting an issue, having a reliable Chamberlain Power Drive 1 2 Hp Garage Door Opener Diagram is essential. This guide will walk you through everything you need to know—from wiring schematics and control board layouts to sensor alignment and maintenance tips.
Understanding the Chamberlain Power Drive Series
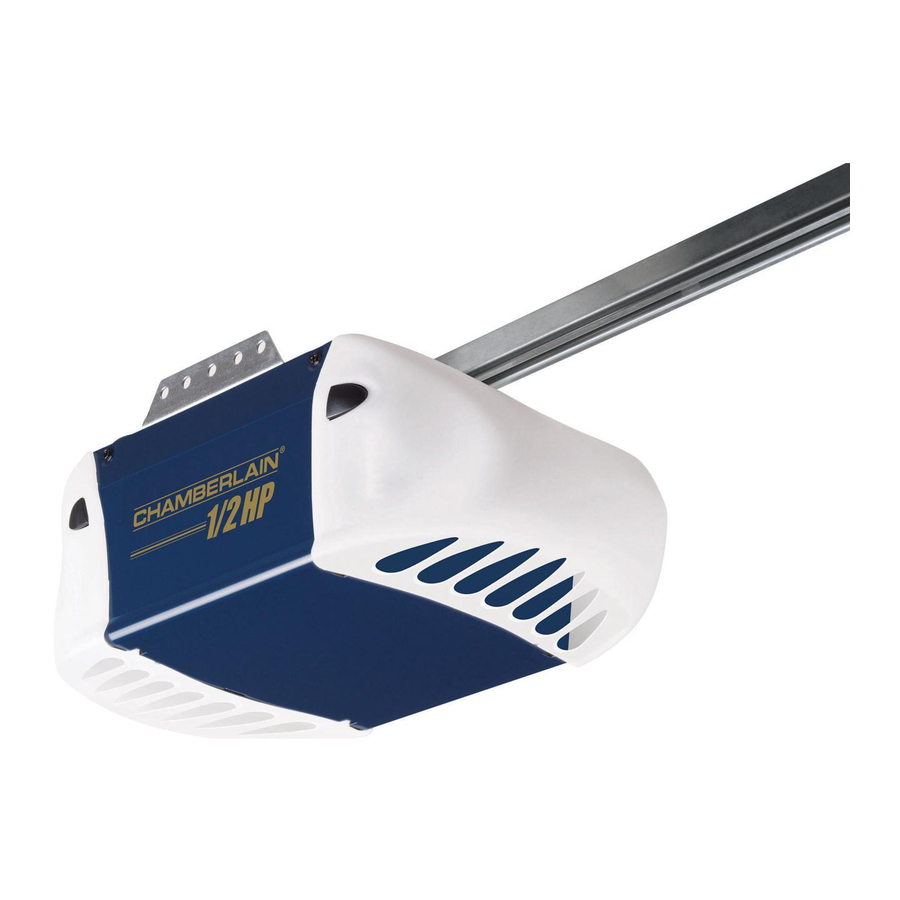
Chamberlain is a well-respected name in the garage door opener industry. Known for reliability and longevity, the Power Drive 1/2 HP model is a favorite for residential setups. The 1/2 horsepower motor is powerful enough for most single and double garage doors and is known for its durable chain drive mechanism.
The Power Drive series includes several models with slight differences, but they all share a core design that makes it easy to install and maintain with the right diagram and instructions.
Why the Chamberlain Power Drive 1 2 Hp Garage Door Opener Diagram Matters
A garage door opener diagram isn’t just a blueprint—it’s your roadmap for safe installation, correct wiring, and troubleshooting. The Chamberlain Power Drive 1 2 Hp Garage Door Opener Diagram includes all components such as:
- Motor unit
- Wall-mounted controls
- Safety reversing sensors
- Remote controls
- Logic board
- Power connections
- Chain or belt drive mechanisms
- Limit switches
By using the correct diagram, homeowners and technicians alike can avoid costly mistakes and speed up the repair or installation process.
Key Components in the Chamberlain Power Drive Diagram
Understanding what each part does will help you read the diagram more effectively. Let’s break down the components you’ll typically find in the Chamberlain Power Drive 1 2 Hp Garage Door Opener Diagram:
1. Motor Unit
The motor is the core of the opener. For a 1/2 HP model, the motor is capable of handling doors up to 300 pounds. In the diagram, it’s usually shown near the ceiling mount and connects directly to the drive chain.
2. Logic Board
This is the “brain” of the system. The logic board controls all functions: remote response, light timers, and safety sensors. On diagrams, it’s usually shown near the back of the motor unit and is connected to power and control wires.
3. Safety Reversing Sensors
These sensors are placed on each side of the garage door, near the ground. They prevent the door from closing if anything is in its path. In the diagram, they’re usually labeled with wiring paths connecting them to the logic board.
4. Wall-Mounted Control Panel
Also known as the doorbell-style switch, this component lets you open or close the garage door from inside the garage. The diagram shows how it connects to the logic board via low-voltage wires.
5. Limit Switches
Limit switches tell the opener when to stop opening or closing. These are shown in the diagram along the rail system and wired into the motor controls.
Chamberlain Power Drive 1 2 Hp Garage Door Opener Diagram: Wiring Overview
Correct wiring is critical for safety and function. Here’s a simplified overview of how wiring looks in most diagrams:
Power Supply:
- The opener plugs into a standard 120V outlet.
- Ground and neutral wires are clearly marked on the diagram.
Control Wires:
- Two-strand low-voltage wire connects the wall control panel to the opener.
- Color-coded for clarity (usually red and white).
Safety Sensor Wiring:
- The left and right sensors have individual wiring but both return to the logic board.
- Proper polarity is important—incorrect wiring causes malfunction.
Optional Add-ons:
- Keypads, motion detectors, and smart home integrations are also shown in advanced diagrams.
Common Troubleshooting Using the Chamberlain Power Drive Diagram
If your garage door isn’t working properly, the diagram can help identify the problem. Here are a few common issues:
Door Won’t Close Fully:
- Check safety sensors: The diagram shows correct alignment and wiring.
- Inspect limit switches: Adjust or replace if needed.
Remote Not Working:
- Check logic board: Ensure the receiver wire is intact.
- Reprogram remote: Diagrams often include button layout for pairing.
Opener Has No Power:
- Confirm power source: Use the diagram to trace power connections.
- Inspect fuse or circuit breaker.
Using the Chamberlain Power Drive 1 2 Hp Garage Door Opener Diagram, you can trace faults back to their source with ease.
Maintenance Tips Based on the Diagram
Following the schematic can help guide your regular maintenance schedule:
- Lubricate the chain drive regularly along the track lines shown in the diagram.
- Clean and align safety sensors using their placement in the diagram.
- Inspect wiring connections annually for corrosion or wear.
Regular checks help extend the life of your opener and prevent costly repairs.
How to Read the Diagram Like a Pro
Most Chamberlain Power Drive 1 2 Hp Garage Door Opener Diagrams are broken into zones:
- Power Section – AC line input and transformer.
- Control Logic – Buttons, remotes, circuit board.
- Motor Drive – Limit switches and motor windings.
- Accessory Panel – Add-ons and optional features.
Each part is often color-coded and labeled. If you’re unsure what a symbol means, consult the user manual or Chamberlain’s support site.
Where to Find an Official Chamberlain Power Drive Diagram
- Owner’s Manual: Most units come with a printed diagram in the back pages.
- Chamberlain’s Website: Offers PDF downloads by model number.
- Online Forums: Websites like GarageJournal or Reddit often host user-uploaded schematics.
- Customer Support: You can call or email Chamberlain directly.
Always double-check that the diagram matches your specific model number.
Final Thoughts
A clear and accurate Chamberlain Power Drive 1 2 Hp Garage Door Opener Diagram can save you hours of frustration and potentially hundreds of dollars in service fees. Whether you’re a DIYer installing a new unit or a homeowner trying to troubleshoot a problem, having the right diagram gives you the confidence and knowledge to handle it.
It’s more than just a picture—it’s a key tool in understanding how your garage door opener works and how to keep it functioning perfectly.
So next time your garage door starts acting up, grab your diagram, roll up your sleeves, and take control.
Leave a Reply