The Chamberlain Liftmaster Professional 1/3 Hp Garage Door Opener Remote is an essential tool for controlling your garage door opener from a distance. With its easy-to-use design, advanced features, and reliable performance, this remote control is a popular choice for homeowners looking for convenience and security. However, like any electronic device, issues can arise from time to time. Whether you’re setting up the remote for the first time, troubleshooting problems, or looking for tips on maximizing its functionality, this guide will cover everything you need to know.
In this article, we will walk you through the setup process, how to troubleshoot common issues, and provide maintenance tips to ensure that your Chamberlain Liftmaster Professional 1/3 Hp Garage Door Opener Remote works smoothly for years to come.
Understanding
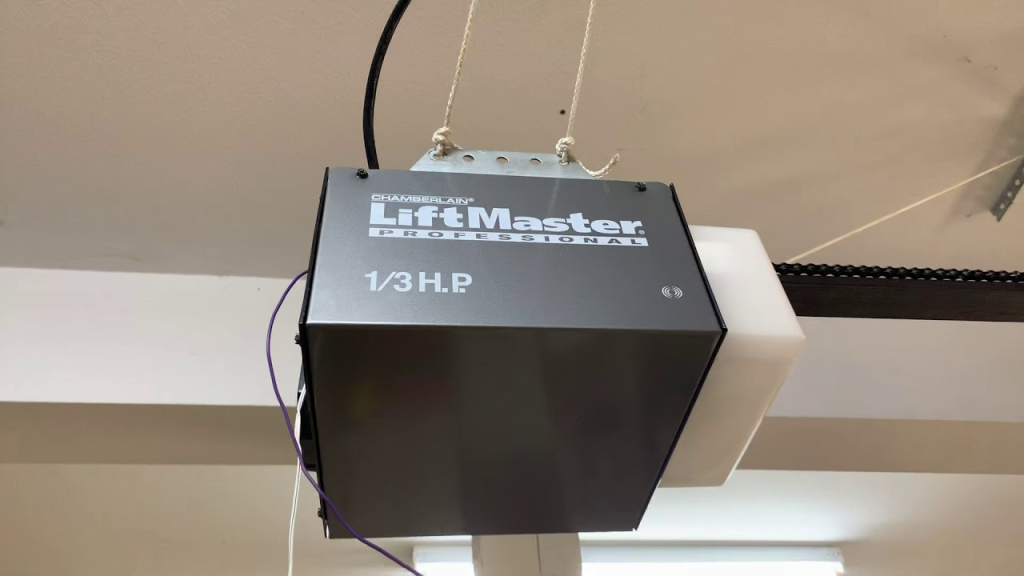
The Chamberlain Liftmaster Professional 1/3 Hp Garage Door Opener Remote is designed to provide secure and convenient access to your garage. It operates using advanced technology, ensuring a seamless experience when opening and closing your garage door.
Key Features:
- Reliable Performance: With a powerful 1/3 horsepower motor, it’s ideal for light to medium-sized garage doors.
- Secure Operation: Rolling code technology changes the security code every time the remote is used, providing added protection against unauthorized access.
- Long Battery Life: The remote is designed to last, with a long-lasting battery that typically provides months of usage before needing replacement.
- Compatibility: The remote is compatible with most Chamberlain Liftmaster Professional series openers, making it a versatile option for many garage doors.
Setting Up Your Chamberlain Liftmaster Professional 1/3 Hp Garage Door Opener Remote
Setting up your Chamberlain Liftmaster Professional 1/3 Hp Garage Door Openers Remote is a straightforward process. Here’s how you can get it up and running in no time.
Step 1: Prepare the Remote and Garage Door Opener
Before starting, ensure you have the necessary equipment, including the remote, the garage door opener, and a ladder to access the opener.
Step 2: Locate the “Learn” Button on the Garage Door Opener
The “Learn” button on your Chamberlain Liftmaster Professional 1/3 Hp Garage Door Openers is used to pair the remote with the opener. You will typically find it on the back or side of the motor unit, near the antenna. It’s usually a small, round button, and may be labeled as “Learn” or have an icon that resembles a small light.
Step 3: Press the “Learn” Button
Press and release the “Learn” button. This will activate the opener’s programming mode, and a small indicator light will begin to blink.
Step 4: Program the Remote
Within 30 seconds of pressing the “Learn” button, press and hold the button on your Chamberlain Liftmaster Professional 1/3 Hp Garage Door Opener Remote that you want to program. Hold it down until the opener’s lights flash, or you hear a click. This indicates that the remote has been successfully paired with the opener.
Step 5: Test the Remote
Test the remote by pressing the button you programmed. The garage door should open or close depending on the current position of the door.
Chamberlain Liftmaster Professional 1/3 Hp Garage Door Openers Remote Troubleshooting
While the Chamberlain Liftmaster Professional 1/3 Hp Garage Door Openers Remote is designed to be reliable, there are a few common issues you may encounter. Fortunately, these problems are often easy to resolve. Here are some of the most common issues and their solutions.
1. Remote Not Working
If your remote is not functioning properly, there could be several reasons behind the issue.
Possible Causes:
- Battery Problems: The most common reason for a remote not working is dead batteries.
- Programming Error: The remote may not have been correctly programmed to the opener.
- Signal Interference: Electronic interference or obstructions could be blocking the signal between the remote and the opener.
Solutions:
- Replace the Batteries: Replace the batteries in your remote. Use high-quality batteries and ensure they are installed correctly, with the positive and negative terminals aligned properly.
- Reprogram the Remote: If the remote was not properly programmed, follow the programming steps outlined earlier in this guide to re-pair the remote with your opener.
- Reduce Interference: Ensure there are no electronic devices blocking the signal. Remove any objects that might obstruct the path between the remote and the opener.
2. Remote Buttons Are Sticking or Unresponsive
If the buttons on the Chamberlain Liftmaster Professional 1/3 Hp Garage Door Openers Remote are sticking or not responding, the issue could be with the remote’s internal mechanism.
Possible Causes:
- Dirt and Debris: Dirt and dust buildup can cause the buttons to stick or become unresponsive.
- Worn Out Buttons: Over time, the buttons on the remote may wear out, causing them to stop working.
Solutions:
- Clean the Remote: Clean the buttons and surface of the remote with a dry cloth. If necessary, use a cotton swab with a small amount of rubbing alcohol to clean around the buttons.
- Replace the Remote: If the buttons are physically damaged or worn out, it might be time to replace the remote.
3. Opener Not Responding to the Remote
If your garage door opener is not responding to the remote, there may be an issue with the opener itself, rather than the remote.
Possible Causes:
- Power Issues: The opener may not be receiving power due to a tripped breaker or unplugged power cord.
- Obstructions in the Sensor Path: The opener’s safety sensors may be misaligned, blocking the signal.
- Remote Range Issues: The remote may not be within the effective range of the opener.
Solutions:
- Check Power: Ensure the opener is plugged in and receiving power. Check the breaker to make sure it hasn’t tripped.
- Inspect Safety Sensors: Inspect the safety sensors for dirt or misalignment. Clean them and adjust their alignment to make sure they are facing each other.
- Test the Range: Ensure you are within the effective range of the opener when using the remote. Move closer to the opener if necessary.
Tips for Maintaining Your Chamberlain Liftmaster Professional 1/3 Hp Garage Door Opener Remote
Proper maintenance of your Chamberlain Liftmaster Professional 1/3 Hp Garage Door Opener Remote can extend its lifespan and keep it working smoothly. Here are some maintenance tips to ensure your remote is always in top condition:
1. Replace the Batteries Regularly
Over time, the batteries in your remote will lose power. It’s important to replace them regularly to ensure uninterrupted operation. Most batteries last around 1-2 years, but this may vary depending on usage.
2. Keep the Remote Clean
Dirt and debris can accumulate on your remote over time, affecting its functionality. Clean the remote periodically with a dry cloth, and avoid using harsh chemicals that could damage the remote’s surface.
3. Store the Remote in a Safe Place
Store the remote in a safe, dry place when not in use. Avoid leaving it in areas where it could get wet or exposed to extreme temperatures, as this could damage the remote.
4. Reprogram the Remote When Necessary
If you need to replace the opener or add a new remote, make sure to reprogram the remote to ensure it works with your system. Follow the instructions in the manual to sync new remotes.
Conclusion
The Chamberlain Liftmaster Professional 1/3 Hp Garage Door Opener Remote is an essential part of your garage door system. By understanding how to set it up, troubleshoot common issues, and perform regular maintenance, you can ensure it works seamlessly for years to come. Whether you’re replacing the batteries, cleaning the remote, or addressing connectivity issues, following the steps outlined in this guide will help you keep your Chamberlain Liftmaster Professional 1/3 Hp Garage Door Opener Remote in optimal condition.
Leave a Reply