Chamberlain Garage Door Opener 102 619 How To Change Battery. The Chamberlain Garage Door Opener 102 619 is a reliable and efficient device that ensures seamless operation of your garage door. However, like all battery-powered devices, it requires occasional battery replacement to function properly.
If your garage door remote has stopped working or has a weak signal, it’s time to change the battery. In this guide, we will walk you through the Chamberlain Garage Door Opener 102 619 how to change battery process, including troubleshooting tips and maintenance advice to keep your garage door opener working smoothly.
Why Do You Need to Change the Battery in Your Chamberlain Garage Door Opener 102 619?
Your Chamberlain Garage Door Opener 102 619 uses a battery-powered remote control and backup system to ensure reliable operation even during power outages. Here’s why changing the battery is important:
- Ensures uninterrupted functionality of the remote control.
- Prevents weak signals that cause delayed or inconsistent operation.
- Maintains the battery backup system, allowing the opener to work during power failures.
By replacing the battery on time, you can avoid inconvenient situations where your garage door opener stops responding when you need it the most.
Signs That Your Chamberlain Garage Door Opener 102 619 Battery Needs to Be Replaced
How do you know it’s time to change the battery? Look out for these signs:
1. Remote Control Becomes Unresponsive
If your garage door opener remote stops working or requires multiple button presses to function, the battery is likely low.
2. Weak or Delayed Signal Response
When the garage door responds slowly or intermittently, it indicates a dying battery in the remote control or opener unit.
3. Flashing LED Indicator on the Garage Door Opener
Some Chamberlain models have an LED indicator that blinks to signal a low battery.
4. Battery Backup System Isn’t Working
If your garage door opener doesn’t work during a power outage, the backup battery may need replacement.
If you notice any of these signs, it’s time to replace the battery in your Chamberlain Garage Door Opener 102 619.
Chamberlain Garage Door Opener 102 619 How to Change Battery: Step-by-Step Guide
Replacing the battery in your Chamberlain Garage Door Opener 102 619 is a simple process. Follow these steps to ensure a successful replacement:
Step 1: Gather Necessary Tools and Materials
Before you start, make sure you have the following:
- A replacement battery (check the user manual for the correct type).
- A small screwdriver (for remote control battery replacement).
- A ladder (for backup battery replacement inside the main unit).
Step 2: Identify the Battery You Need to Replace
There are two possible batteries you may need to replace:
- The remote control battery (powers the handheld remote).
- The backup battery (inside the main garage door opener unit).
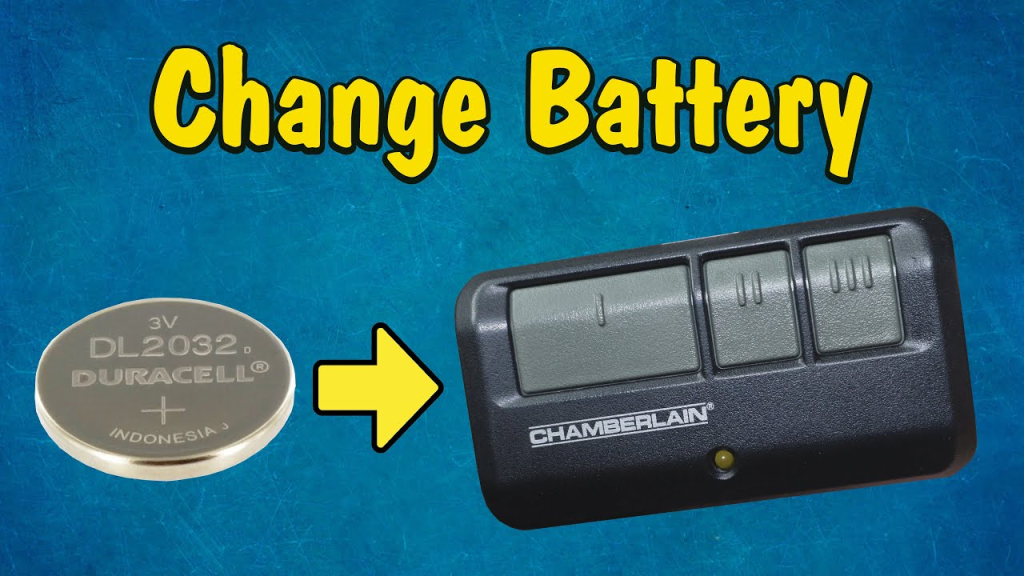
How to Replace the Remote Control Battery
The remote control for the Chamberlain Garage Door Opener 102 619 typically uses a coin cell battery (CR2032 or CR2025). Follow these steps:
- Locate the Battery Compartment
- Flip the remote over and look for a small battery compartment cover.
- Open the Battery Compartment
- Use a small screwdriver or a coin to gently pry open the battery cover.
- Remove the Old Battery
- Carefully take out the old battery, ensuring you remember its orientation.
- Insert the New Battery
- Place the new battery in the same position as the old one (positive side facing up).
- Close the Battery Compartment
- Secure the cover back in place and ensure it snaps shut.
- Test the Remote
- Press the button to check if the garage door opens and closes properly.
How to Replace the Backup Battery in the Opener Unit
The Chamberlain Garage Door Opener 102 619 has a backup battery inside the main unit, typically a 12V rechargeable battery. Here’s how to replace it:
- Turn Off Power to the Opener
- Unplug the opener from the power source to prevent any electrical issues.
- Locate the Battery Compartment
- Open the light cover or battery panel on the main unit.
- Remove the Old Battery
- Disconnect the battery terminals and carefully take out the old battery.
- Insert the New Battery
- Connect the positive and negative terminals properly.
- Ensure the new battery is securely in place.
- Close the Battery Compartment
- Reattach the cover and plug the opener back into the power source.
- Test the System
- Open and close the garage door to confirm the new battery is working.
Troubleshooting Battery-Related Issues
If your Chamberlain Garage Door Opener 102 619 is still not working after replacing the battery, try these troubleshooting steps:
1. Check for Loose Battery Connections
- Ensure the battery is securely installed in the remote control or opener unit.
2. Reprogram the Remote Control
- If the remote isn’t responding, it may need to be reprogrammed using the Learn Button on the opener.
3. Reset the Garage Door Opener
- Unplug the unit for 30 seconds and plug it back in to reset the system.
4. Inspect for Other Issues
- If the problem persists, check for worn-out remotes, sensor misalignment, or motor malfunctions.
Maintenance Tips for Long-Lasting Battery Life
To extend the battery life of your Chamberlain Garage Door Opener 102 619, follow these maintenance tips:
- Replace remote batteries every 1-2 years for optimal performance.
- Check the backup battery every 2-3 years and replace it when needed.
- Keep the battery contacts clean by wiping them with a dry cloth.
- Store remote controls in a dry place to prevent battery corrosion.
Final Thoughts
Knowing how to change the battery in your Chamberlain Garage Door Opener 102 619 is essential for ensuring smooth and uninterrupted operation. Whether you’re replacing the remote control battery or the backup battery, following the correct steps will help you avoid inconvenience and maintain your garage door opener’s performance.
By keeping an eye on battery life and practicing regular maintenance, you can ensure that your Chamberlain Garage Door Opener 102 619 remains reliable for years to come.
Leave a Reply