If you own a Chamberlain 1/2 HP garage door opener manufactured around 1991, you might have encountered functionality issues such as unresponsive remotes, erratic door behavior, or the need to reset the entire system. Resetting this older unit is essential to restore it to working order and enhance its long-term reliability.
This article provides an in-depth guide to the Chamberlain 1 2 Hp Garage Door Opener 1991 Reset process. We’ll also explain how this model operates, what common issues you might face, and how to troubleshoot effectively. Whether you’re a homeowner or a DIY enthusiast, this guide is designed to help you reset and maintain your garage door opener easily.
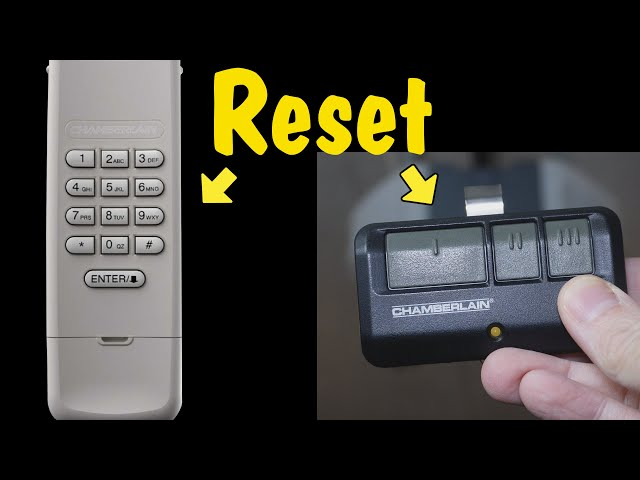
Read too: How Many Remotes Can A Chamberlain Garage Door Opener Have? Understaanding the Limits and Options
Understanding the Chamberlain 1/2 HP Garage Door Opener from 1991
The Chamberlain 1/2 HP garage door opener from 1991 is a chain-driven model known for its rugged design and reliable performance. While newer models have more smart features, this unit remains in use today thanks to its durable motor and straightforward functionality.
This model features:
- A 1/2 horsepower motor, ideal for single or lightweight double garage doors.
- Manual DIP switch-based remote programming, typical before rolling code technology.
- Safety reverse sensors and mechanical limit switches.
- A mechanical reset process rather than digital factory resets found in newer models.
Understanding how this opener functions will make it easier to complete a reset properly and diagnose issues when something goes wrong.
How to Perform a Chamberlain 1 2 Hp Garage Door Opener 1991 Reset
Resetting a Chamberlain 1/2 HP garage door opener from 1991 isn’t as simple as pressing a “Reset” button like on newer units. Instead, it requires a few manual steps. Here’s how you can successfully reset your opener:
1. Unplug the Opener
Always start by disconnecting power to the opener. This not only ensures your safety but also helps reset the internal circuits.
2. Erase Remote Control Memory
Since this unit uses DIP switches for remote control codes:
- Locate the DIP switches on the garage door opener unit.
- Open your remote and find the DIP switch layout inside.
- To reset, change the DIP switch positions on both the opener and remote to a new matching configuration.
- This will effectively reset the pairing and prevent interference from old remotes or neighbors’ devices.
Tip: Use a pen or small screwdriver to toggle the switches. Make sure the sequence on the remote and opener match exactly.
3. Reset the Limit Switches
The limit switches determine how far the door travels up and down. Here’s how to reset them:
- Open the housing of the garage door opener.
- Locate the up and down travel adjustment screws.
- Use a flat-head screwdriver to adjust:
- Clockwise to reduce travel
- Counterclockwise to increase travel
- Slowly test each adjustment by running the door up and down using the wall switch.
4. Reset the Force Settings
Force controls the amount of power the opener uses to open or close the door.
- Locate the force adjustment dials (usually marked “Up Force” and “Down Force”).
- Set them to the midpoint to start, then test operation.
- Adjust slightly higher if the door stops midway or won’t close.
5. Reconnect Power and Test
Plug the opener back in, and test the garage door using both the wall switch and remote. Make small adjustments as needed to ensure proper opening, closing, and safety sensor response.
Common Issues After Resetting and How to Fix Them
After completing the Chamberlain 1 2 Hp Garage Door Opener 1991 Reset, you might still experience some problems. Here are a few common ones and their solutions:
1. Remote Not Working
- Double-check DIP switch alignment.
- Replace the remote battery.
- Ensure the opener’s antenna wire is hanging down unobstructed.
2. Door Reverses Before Hitting the Floor
- Lower the down travel limit slightly.
- Decrease down force if the opener thinks the floor is an obstruction.
3. Garage Door Doesn’t Close All the Way
- Adjust the down limit screw to allow further travel.
- Check if anything is blocking the photo-eye safety sensors.
4. No Power to the Opener
- Confirm the outlet works by plugging in another device.
- Inspect the fuse or circuit breaker.
- Look for burnt components in the opener (in rare cases, internal circuitry may need replacement).
Preventative Maintenance Tips for Older Chamberlain Units
To avoid frequent resets or malfunctions, it’s important to maintain your opener properly:
- Lubricate moving parts (rollers, hinges, chain) every 6 months.
- Tighten bolts and brackets annually.
- Check the safety sensors and clean their lenses.
- Test the auto-reverse feature monthly by placing a block of wood in the door’s path.
- Update your remotes—modern replacements are available that work with DIP switch systems.
Keeping your system in good condition not only extends its life but also enhances your safety.
Upgrading vs. Resetting: Should You Replace Your 1991 Chamberlain Opener?
While resetting your Chamberlain 1 2 Hp Garage Door Opener 1991 will restore functionality, you might consider an upgrade if:
- Your opener lacks rolling code security (modern systems are safer).
- It no longer meets current UL 325 safety standards.
- You want smart features like smartphone control or real-time alerts.
- Parts are no longer easily available.
However, if your opener still functions well and safety features are intact, there’s no urgent need to replace it. Just ensure proper maintenance and timely resets when necessary.
Key Takeaways
The Chamberlain 1 2 Hp Garage Door Opener 1991 Reset process is a manual but manageable task. Whether you’re adjusting DIP switches or resetting travel limits, knowing how your garage door opener works gives you greater control and extends the life of the unit.
This 1991 model may not have Wi-Fi or app-based control, but it’s built to last and delivers solid, dependable performance. With a bit of maintenance and the right reset steps, it can continue serving your home for years to come.
Leave a Reply