Installing a garage door opener can seem like a daunting task, especially when it involves a center beam mounting setup. For homeowners using a Chamberlain garage door opener, understanding how to install it correctly on a center beam is essential for smooth operation and safety.
Whether you’re replacing an old unit or setting up a brand new system, this guide walks you through every step of the Chamberlain garage door opener installation for a center beam, including the tools you’ll need, safety tips, and common mistakes to avoid.
Read too: Can You Upgrade a Chamberlain Garage Door Opener Keypad? Here’s What You Need to Know
Let’s break it down in a way that’s easy to understand—even if you’re a first-time DIYer.
Why Choose Chamberlain for Garage Door Automation?
Chamberlain is a leading name in the garage door industry. Their openers are known for:
- Quiet operation (especially belt-driven models)
- Smartphone compatibility via MyQ technology
- Durable construction and long life
- Easy-to-follow installation instructions
When mounting the opener to a center beam, their equipment proves especially versatile with strong brackets and adaptable rail systems.
Tools & Materials You’ll Need
Before beginning your Chamberlain garage door opener installation for a center beam, gather the following tools and materials:
Tools:
- Power drill
- Level
- Socket set
- Stud finder
- Wrench set
- Tape measure
- Step ladder
Materials:
- Chamberlain garage door opener kit (motor, rail, chain/belt, brackets)
- Lag screws (included)
- Mounting brackets
- Safety sensors and wiring
- Wall control panel
- Center beam mounting hardware
Chamberlain Garage Door Opener Installation For A Center Beam: Step-by-Step Instructions
Step 1: Understand Your Garage Structure
A center beam refers to the central horizontal structural member of your garage ceiling that often runs perpendicular to your door. It’s the ideal mounting point for a garage door opener because of its strength and centralized location.
Use a stud finder to locate the exact center beam. Ensure the wood is solid and not compromised by water damage or age.
Step 2: Assemble the Rail and Opener Unit
- Lay out the rail on a flat surface.
- Connect the rail sections per Chamberlain’s instructions.
- Slide the trolley onto the rail.
- Attach the belt or chain, depending on your opener model.
- Connect the rail to the motor unit.
Ensure everything is secure before moving the assembly to the ceiling.
Step 3: Mount the Rail to the Header Bracket
Install the header bracket above the garage door, centered on the door’s width. This should be mounted to a stud or reinforced wood.
- Use a level to ensure it’s straight.
- Secure it with the lag screws provided.
- Connect the end of the rail to this bracket.
This step anchors the opener and supports the weight and motion of the system.
Step 4: Mount the Motor to the Center Beam
Now comes the crucial part: attaching the motor unit to the center beam.
- Position the motor so that it’s in line with the rail and door.
- Use angle iron or Chamberlain’s mounting straps to attach the motor to the center beam.
- Drill pilot holes into the center beam and use lag screws for secure fastening.
- Use a level to ensure the opener is aligned horizontally.
This is a critical step in the Chamberlain garage door opener installation for a center beam, so double-check your measurements.
Step 5: Connect the Door Arm
- Attach the curved door arm to the trolley.
- Connect the straight arm to the garage door bracket.
- Join both arms with a bolt and nut so they form an L-shape when the door is closed.
This connection allows the trolley to pull and push the garage door open and shut.
Step 6: Install Safety Sensors
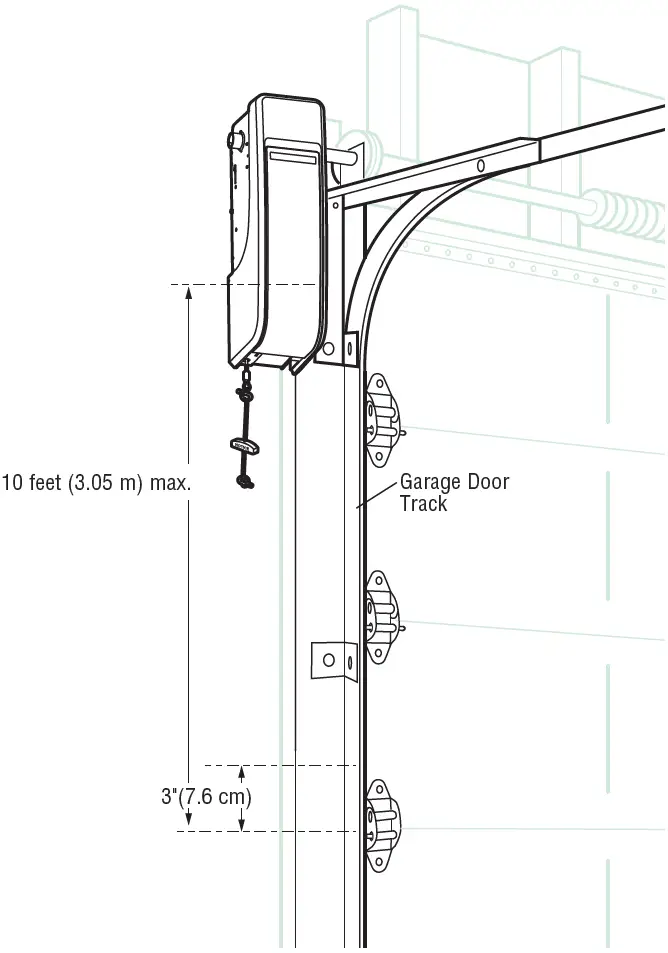
Install the photo-eye safety sensors on either side of the garage door, about 6 inches from the floor.
- Run the wires along the wall using staples or adhesive.
- Plug them into the designated ports on the opener unit.
- Ensure the sensors are aligned—an LED light will usually confirm this.
Safety sensors are essential for preventing accidents and ensuring the door reverses if there’s an obstruction.
Step 7: Install the Wall Control Panel
Mount the wall control near the garage entrance, at adult shoulder height.
- Run the wiring back to the opener.
- Connect wires to the proper terminals, usually marked with color or labels.
Once wired, secure the panel and test basic controls like open, close, and light.
Step 8: Power and Program the Unit
Plug the opener into a ceiling outlet.
- Program remotes according to Chamberlain’s manual.
- Sync the MyQ app for smart control, if applicable.
- Adjust travel and force settings using the dials or digital menu.
- Set the limits for full open and full close positions.
Tips for a Smooth Center Beam Installation
- Use angle brackets if your ceiling height is more than standard.
- Reinforce the center beam with an additional wood block if it’s old or thin.
- Avoid overtightening bolts that might split wood.
- Test the balance of your garage door manually before installing the opener.
- Always unplug the unit when making wiring connections.
Common Mistakes to Avoid
- Mounting to drywall only – Always anchor to the wooden beam.
- Skipping door balance check – An unbalanced door strains the opener.
- Improper sensor alignment – This will prevent the door from closing.
- Using old wiring – Always install new wiring for sensors and controls.
- Forgetting travel limit adjustments – This can damage the opener or door.
Avoiding these mistakes ensures a safe and efficient installation process.
FAQs: Chamberlain Garage Door Opener Installation for a Center Beam
❓ Can I mount the Chamberlain opener anywhere other than the center beam?
Technically yes, but the center beam offers the best support and balance for the opener. Other placements may require extra bracing.
❓ Is a center beam mounting better than ceiling joists?
A center beam provides stronger and more direct support, especially for heavy doors or openers with longer rails.
❓ Do I need a helper for installation?
Yes, having a second person can be very helpful when lifting the motor unit or aligning the rail.
❓ What’s the ideal height to mount the opener?
Typically, 7 to 9 feet from the floor is standard. However, this varies based on your ceiling height and door size.
❓ Can I use the same center beam holes from my old opener?
If the beam is still strong and holes aren’t stripped, yes. Otherwise, drill fresh pilot holes for maximum security.
When to Call a Professional Installer
While many homeowners can complete a Chamberlain garage door opener installation for a center beam themselves, call a professional if:
- You’re uncomfortable with electrical work.
- You lack the proper tools or ladder height.
- Your garage structure is unconventional or damaged.
- You’re upgrading from a manual door for the first time.
Professionals can typically complete installation in 2–3 hours, and ensure that all safety protocols are followed.
Final Thoughts
Installing a Chamberlain garage door opener on a center beam doesn’t have to be intimidating. With the right tools, a little patience, and this guide, you’ll have your opener running safely and smoothly in no time.
A properly installed opener increases convenience, enhances home security, and gives peace of mind. By anchoring the system to a sturdy center beam, you’re choosing the most reliable and balanced setup possible.
Leave a Reply