If your garage door doesn’t open all the way or closes too far and presses against the floor, chances are you need to adjust its height settings. Knowing how to adjust height on Chamberlain garage door opener is essential for maintaining the proper operation, safety, and longevity of your garage system. Whether you’ve recently installed a new door, changed weatherstripping, or noticed inconsistent door behavior, height adjustments are a necessary part of opener maintenance.
This detailed guide is specifically designed to help homeowners, DIYers, and anyone with a Chamberlain garage door opener learn the proper steps to safely and accurately adjust the height or “travel limits” of the door. By the end of this guide, you’ll feel confident in making these adjustments without the need for a professional.
Why You May Need to Adjust Garage Door Height
Before we explore how to adjust height on Chamberlain garage door opener, it’s important to understand the reasons why such adjustments are necessary.
Read too: How Many Remotes Can A Chamberlain Garage Door Opener Have? Understaanding the Limits and Options
Common Reasons to Adjust Height:
- The garage door doesn’t open fully, making it difficult for vehicles to pass.
- The door closes too far, potentially damaging the floor or weather seal.
- You recently installed a new garage door or changed door size.
- The travel limits were reset after a power outage or maintenance.
- You notice the door reverses too soon or stops midway.
Chamberlain garage door openers include a built-in travel adjustment feature that allows users to modify how far the door moves when opening and closing.
Understanding Travel Limits vs. Force Settings
Some people confuse height adjustment (also called travel limits) with force settings. While they work together, they serve different purposes.
- Travel limits (height adjustment): Dictate how far the door travels up or down.
- Force settings: Control how much power the opener uses to move the door.
In this guide, our focus is on height adjustment, or more specifically, adjusting the up and down travel limits.
Tools You’ll Need
To adjust the height on a Chamberlain garage door opener, gather the following:
- A ladder to reach the opener unit
- A flathead screwdriver (for some models)
- The remote or wall control panel
- The owner’s manual (optional but helpful)
- Safety glasses (recommended)
How To Adjust Height On Chamberlain Garage Door Opener Correctly and Safely
Now that you know why it’s important, let’s dive into how to adjust height on Chamberlain garage door opener step-by-step.
Step 1: Identify Your Chamberlain Opener Model
Modern Chamberlain garage door openers come with either:
- Mechanical adjustment screws
- Electronic controls with up/down buttons
Most openers made after 2011 feature electronic travel limit settings, which are easier to adjust. Knowing your model type will help you follow the correct procedure.
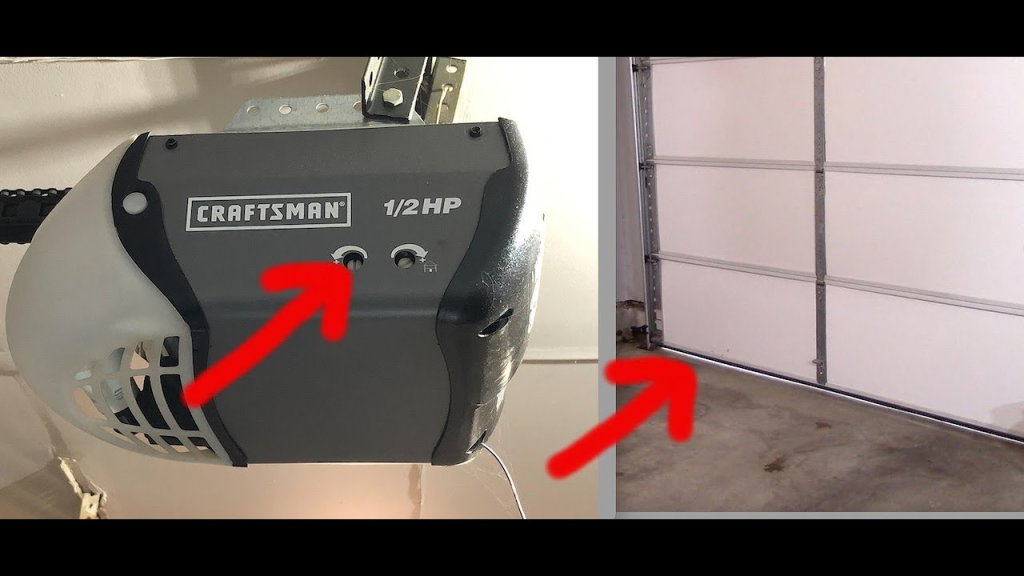
Step 2: Locate the Adjustment Controls
For most models, the adjustment buttons or dials are found on the back or side panel of the motor unit (often beneath the light cover). Look for labels like:
- “Up Travel” or “UP”
- “Down Travel” or “DOWN”
- “Adjust” button (for electronic models)
Step 3: Enter Adjustment Mode (Electronic Models)
For openers with electronic controls:
- Press and hold the “Adjustment” button until the Up Arrow begins to blink.
- Use the Up Arrow to increase how far the door opens.
- When the door reaches the desired fully open position, press the “Adjustment” button again.
- The Down Arrow will now blink. Use it to adjust the fully closed position.
- Press the “Adjustment” button once more to confirm both settings.
Step 4: Manual Adjustment (Mechanical Models)
If your opener uses mechanical adjustment screws:
- Locate the Up Limit and Down Limit screws on the motor housing.
- Use a flathead screwdriver to turn the Up Limit screw clockwise to increase the open height. Turn it counterclockwise to decrease.
- Adjust the Down Limit screw to set how far the door closes.
Pro Tip: Make small adjustments—about 1/4 turn at a time—and test after each change.
Step 5: Test the Door Operation
After adjusting, use your remote or wall control to:
- Open the door fully and check clearance.
- Close the door and check for proper sealing without over-compression.
Repeat the steps above if you need to fine-tune either limit.
Step 6: Perform a Safety Reversal Test
To ensure the door reverses correctly:
- Place a 2×4 wood block on the ground in the door’s path.
- Close the garage door using the remote.
- The door should automatically reverse upon hitting the block.
If it doesn’t reverse, you may need to adjust down travel or check the safety sensors.
Tips for Optimal Height Adjustment
- Avoid over-tightening the down limit, as it can strain the opener or damage the floor.
- Keep the door balanced by checking the springs and rollers periodically.
- If the door stalls during travel, check for obstructions or excess friction.
- Recalibrate after significant temperature changes, which may affect door movement.
When to Re-Adjust Garage Door Height
You may need to revisit how to adjust height on Chamberlain garage door opener in the following situations:
- After seasonal changes (cold weather can stiffen tracks)
- After replacing garage door parts
- Following power surges or resets
- When upgrading your garage floor or door seal
Regular maintenance checks ensure consistent and reliable performance.
Troubleshooting Height Adjustment Issues
If your Chamberlain opener isn’t responding well to height adjustments, consider the following solutions:
Problem: Door Still Doesn’t Open Fully
- Recheck the Up Travel setting.
- Inspect for track obstructions or binding rollers.
Problem: Door Slams or Closes Too Hard
- Reduce the Down Travel limit slightly.
- Ensure the door is not too heavy due to extra insulation or parts.
Problem: Door Reverses Midway
- The Down Travel might be set too far.
- Confirm that safety sensors are aligned and clean.
Advanced Options: Smart Garage Door Openers
If you have a myQ-compatible Chamberlain opener, height settings can often be monitored and adjusted through the myQ smartphone app.
Benefits include:
- Real-time door position tracking
- Travel history logs
- Custom alerts for unusual door behavior
While basic height adjustment still requires manual input, smart systems can notify you if the door doesn’t reach its set positions.
Frequently Asked Questions
How often should I adjust the garage door height?
Only when issues arise, like the door not fully opening/closing or following hardware changes.
Can I set different open heights depending on the vehicle?
Not with standard openers. However, some smart systems allow programmable partial opening heights.
Is adjusting the height dangerous?
No, as long as you follow safety protocols. Always test door reversal after making changes.
Does adjusting the height affect security?
Yes, a poorly closed door might be easier to tamper with. Ensure your Down Travel creates a firm seal on the floor.
Conclusion
Understanding how to adjust height on Chamberlain garage door opener is a must-have skill for any homeowner. Whether you’re correcting a partial opening issue or ensuring a perfect seal when closed, properly set travel limits can enhance the functionality, security, and lifespan of your garage door opener.
With the help of this comprehensive guide, you can confidently perform these adjustments yourself—saving on professional costs and keeping your garage door system in top shape.
So next time your garage door doesn’t open all the way, or closes a bit too much, just grab a ladder and get to work using the simple steps outlined here. Your future self—and your garage door—will thank you.
Leave a Reply